Introduction
After you’ve uploaded a DOCX template to Formtify, the next important step is to customize your template fields. This means reviewing, organizing, and enriching the fields that were automatically extracted from your document. If you haven’t uploaded a template yet, we recommend starting with the article “Upload templates”.
In this guide, we’ll walk you through how to use the Customize Template Fields screen, so your template is well-structured and ready for auto-fill, document generation, and more.
Access the Customize Fields screen
Right after uploading your template, Formtify will open the Customize Fields screen for you. This is where you can:
- Review all extracted field keys
- Add descriptions, example texts, data types, and formulas
- Mark which fields are required
- Organize your fields for better usability later on
All field keys shown here are pulled directly from the content of your DOCX file.
Alternatively, the page will open automatically when you first upload a template set.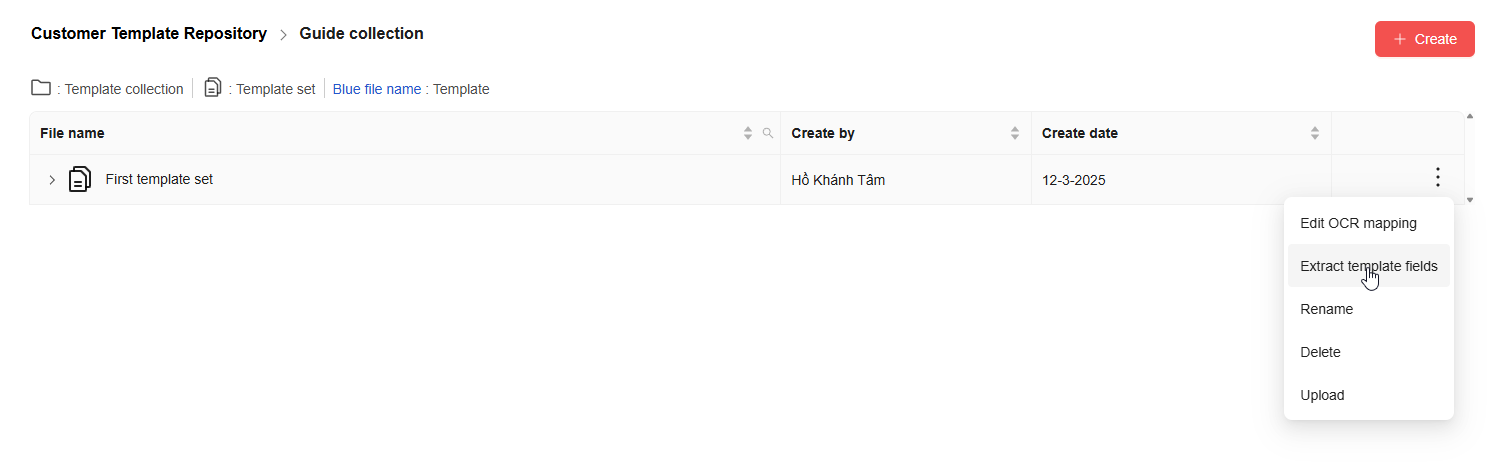
What you’ll see on this page
Each field is displayed as a row with the following inputs:
{field_key}
{description}
{sample_text}
{data_type}
{formula} (only for function type)
{required} (checkbox)
You can edit or fill in any blank fields. Don’t worry — if some fields are already filled, you won’t lose them when uploading new versions of the same template.
Note: Fields with the same key across templates in the same set will share the same customization values (like description, sample, etc).
Use the AI Generator (Optional but handy!)
You can click the Generate AI Fields button to auto-fill any missing:
{description}
{sample_text}
{data_type}
Formulas won’t be generated. Also, fields that already have content won’t be overwritten. The system is smart enough to reuse existing AI suggestions from other templates in the same set!
Use Excel for quick bulk editing
You’ll find an Using Excel button with 3 options:
Import
Export
Download Sample
- Download Sample gives you a sample Excel with all the correct columns.
- Export lets you download the current fields to an Excel file.
- Import allows you to upload an edited Excel file to bulk update fields. (You’ll be prompted with a modal to upload.)
This is perfect for teams who prefer working in spreadsheets!
Navigate across pages
If your template has a lot of fields, don’t worry. The system paginates your field list to 10 fields per page. Just click through to find and update them all.
Mark required fields
Each field has a checkbox to mark it as required. By default, most fields will be marked required already. You can uncheck any field that’s optional.
Required fields will be enforced during the document-filling step later.
What happens when you upload more templates to a set?
When you upload new templates to an existing set:
- All new field keys will appear on the customize screen
- Any duplicated field keys will only show once
- Previously added values like {description}, {sample_text}, etc. will remain
This makes it easy to maintain consistent fields across all templates in the same set.
Move on to Group Data (not Field Groups)
Once you’re happy with how your fields look, click Next to proceed to the Group Data step.
This step lets you create data groups — not to be confused with Field Groups.
In this step, you’ll be able to:
- Click Create Group to start a new data group
- Give your group a name and choose a color
- Select specific fields to include in that group using checkboxes
- See a searchable list of all fields available
- Manage existing groups in a list-style table below (rename, delete, etc.)
A Group Data item represents a reusable set of values you can use to pre-fill fields in templates — similar to saved customer profiles or default packages.
Example: You can create a “Default Client Info” group with values for {Client.Name}, {Client.Email}, etc. and reuse it every time you generate a document.
This is different from Field Groups, which are used to organize fields structurally inside your template. Field Groups define what fields belong together, while Group Data stores real values for those fields.
If you want to learn how to set up Field Groups (which are part of your template structure), check out the article “Create a Field Group”.
That’s it for customizing your template fields! You’re now one step closer to building smart, reusable document templates in Formtify.