What’s Changed?
Previously known as Template Collection, this section has now been renamed to My Templates to reflect its purpose more clearly.
The update ensures:
- A Cleaner Interface – System-generated templates are now removed, so your workspace stays clutter-free.
- Full Control – You’ll only see the templates you’ve uploaded, making it easier to find what you need.
- Simpler Navigation – Quickly access and manage templates without unnecessary distractions.
What is My templates?
My Templates is where you can store, organize, and manage all your uploaded document templates in Formtify—keeping everything in one place for easy access.
Understanding the Concepts
To effectively use My Templates, it’s essential to understand these key concepts:
- Collection – A folder-like structure that helps organize multiple template sets for better management.
- Template Set – A group of related templates that share common fields and settings, making document automation more efficient.
- Template – An individual docx file that contains field keys used for data auto-fill.
With these concepts, My Templates allows users to structure their templates in a way that best fits their workflow.
Navigate to My Templates
There are two easy ways to access My templates:
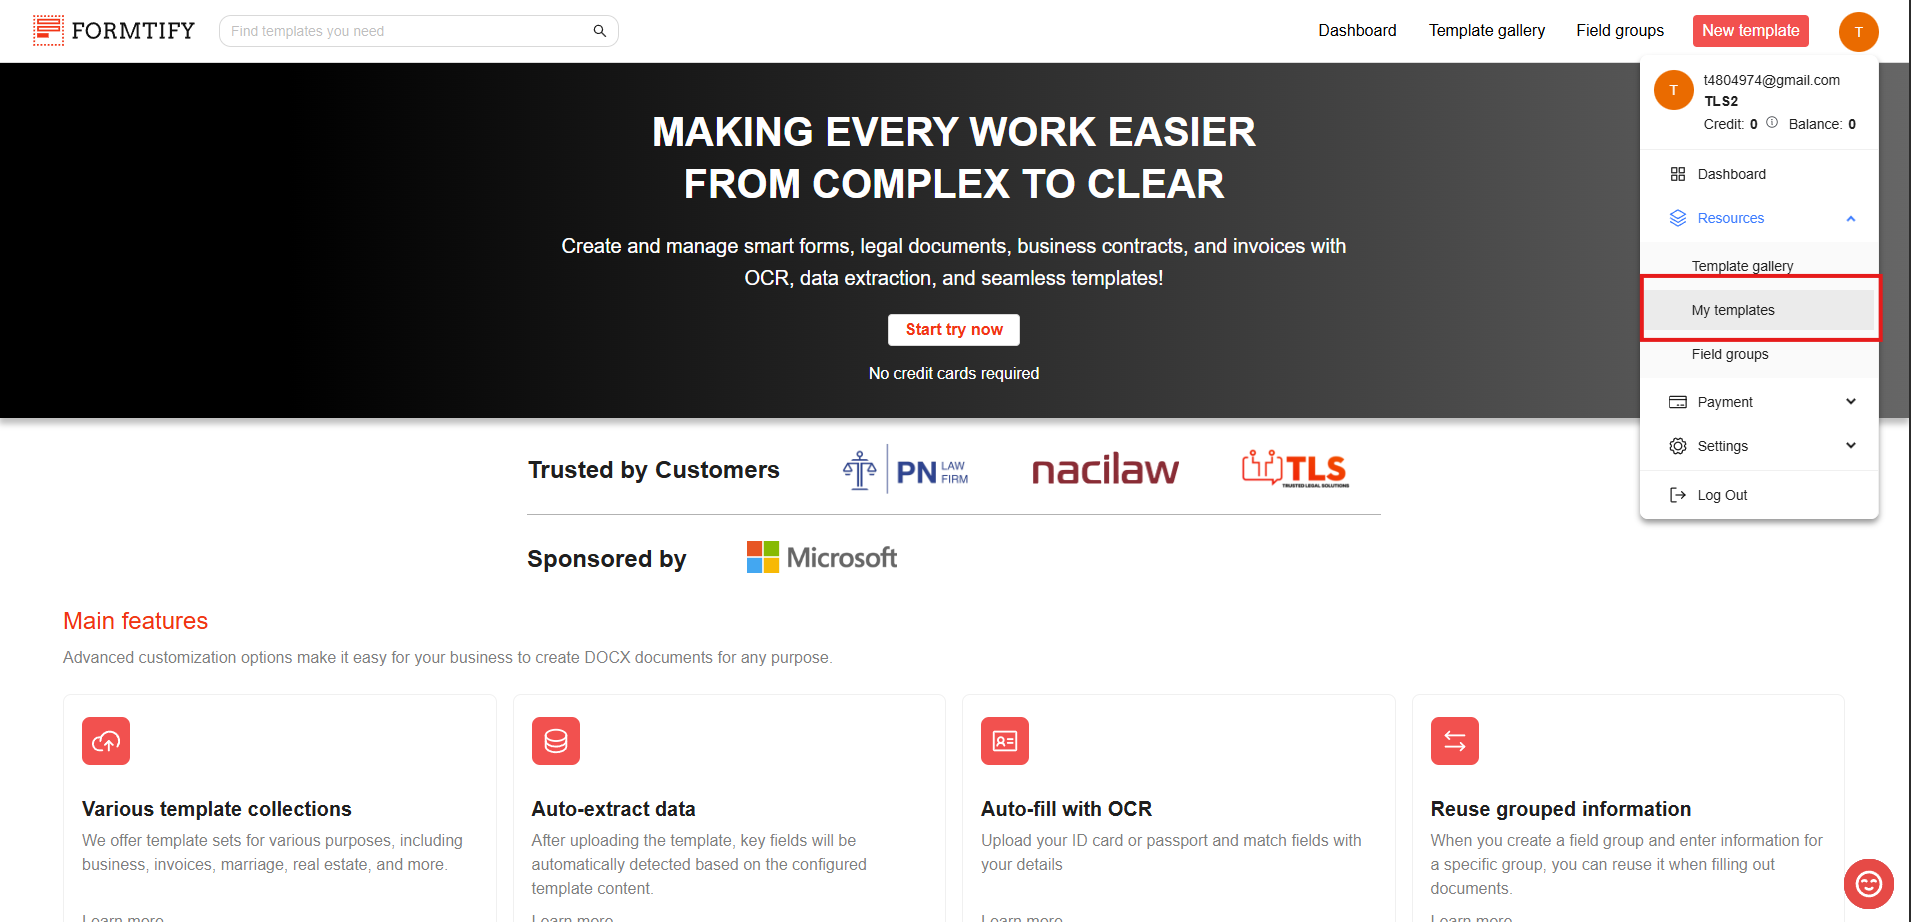
- From the Header – Click New template at the top of the page
- From the Menu → Click your Profile avatar, go to Resources, then select My templates.
How to Use My Templates?
Using Template Collection is straightforward and user-friendly. Here is what you can do in My templates:
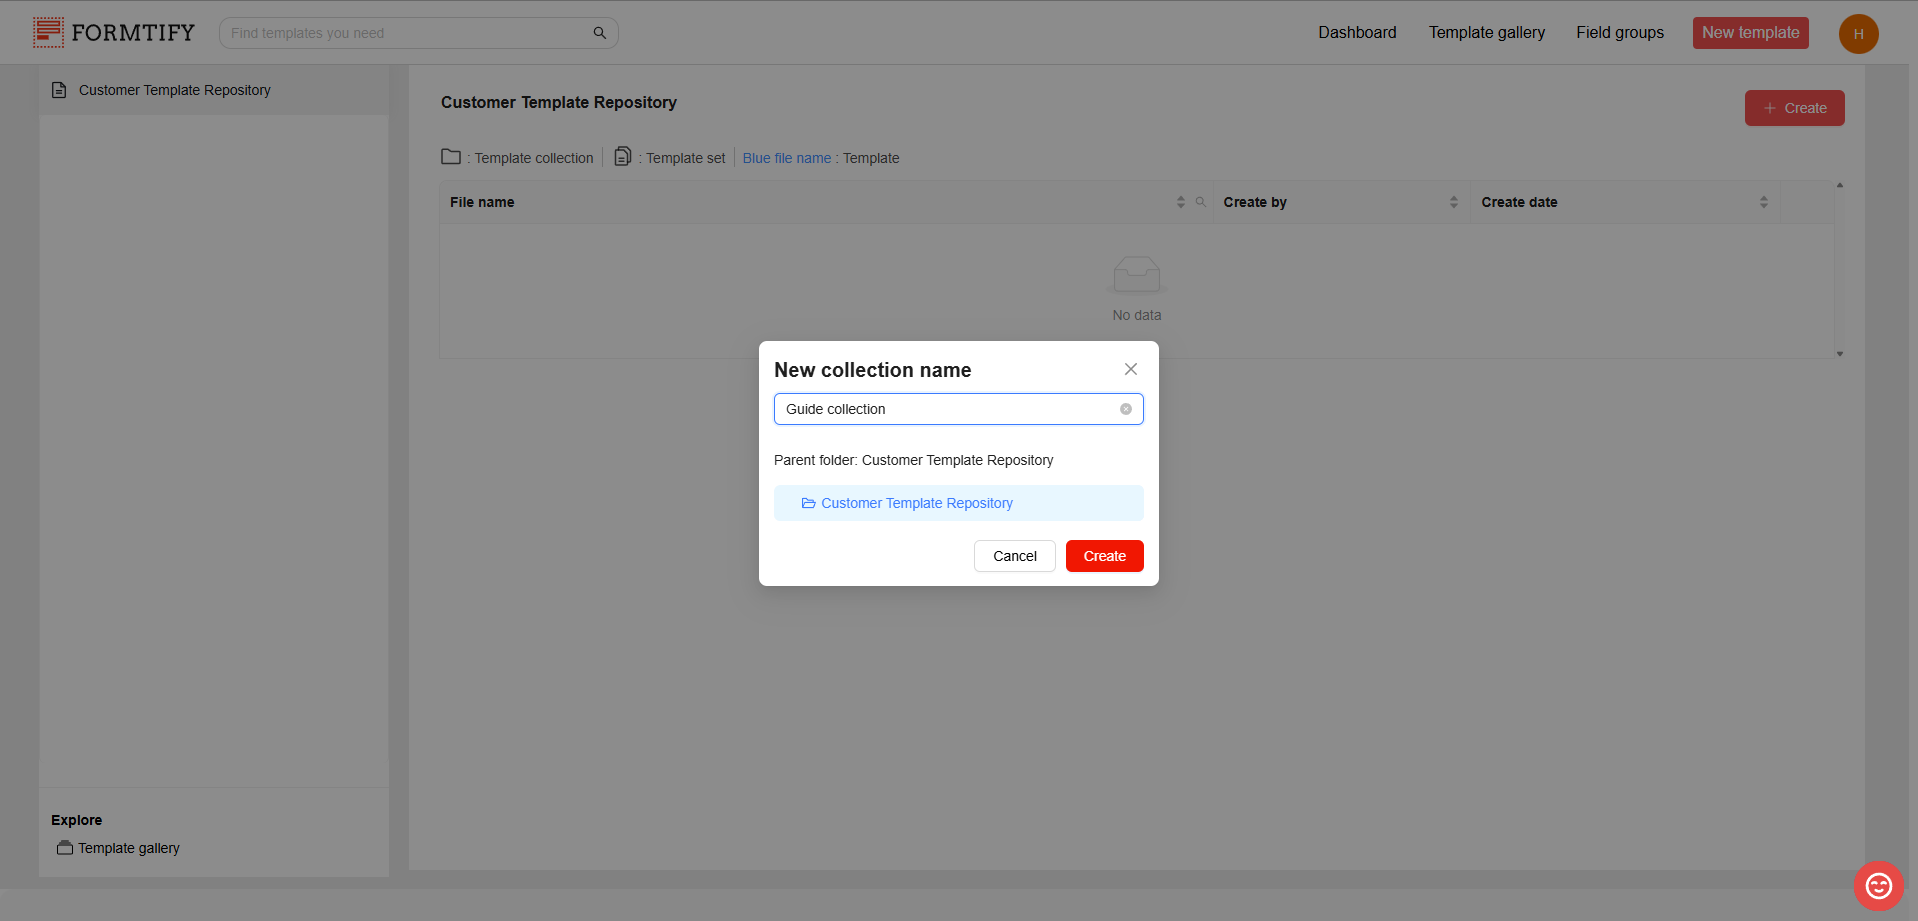
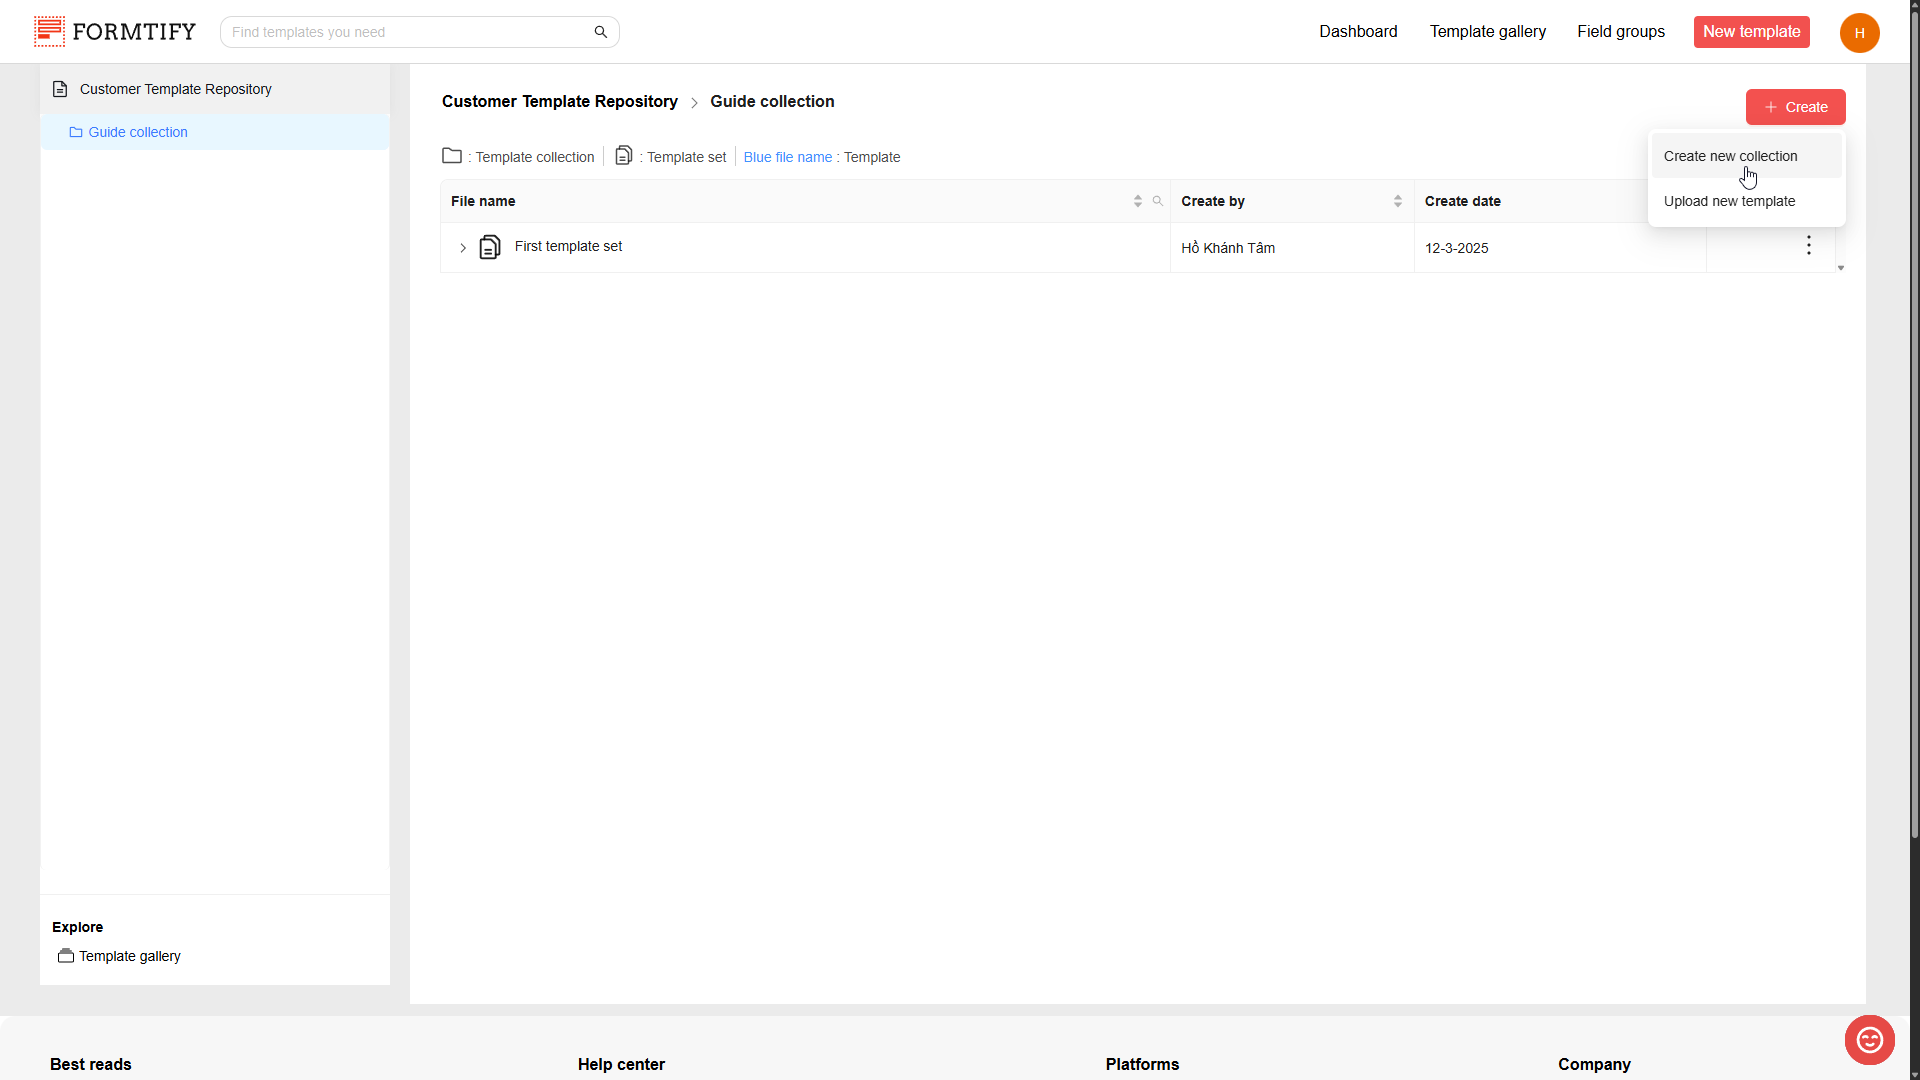
1. Create a new Template collection.
- Click the + Create button, then select Create new collection.
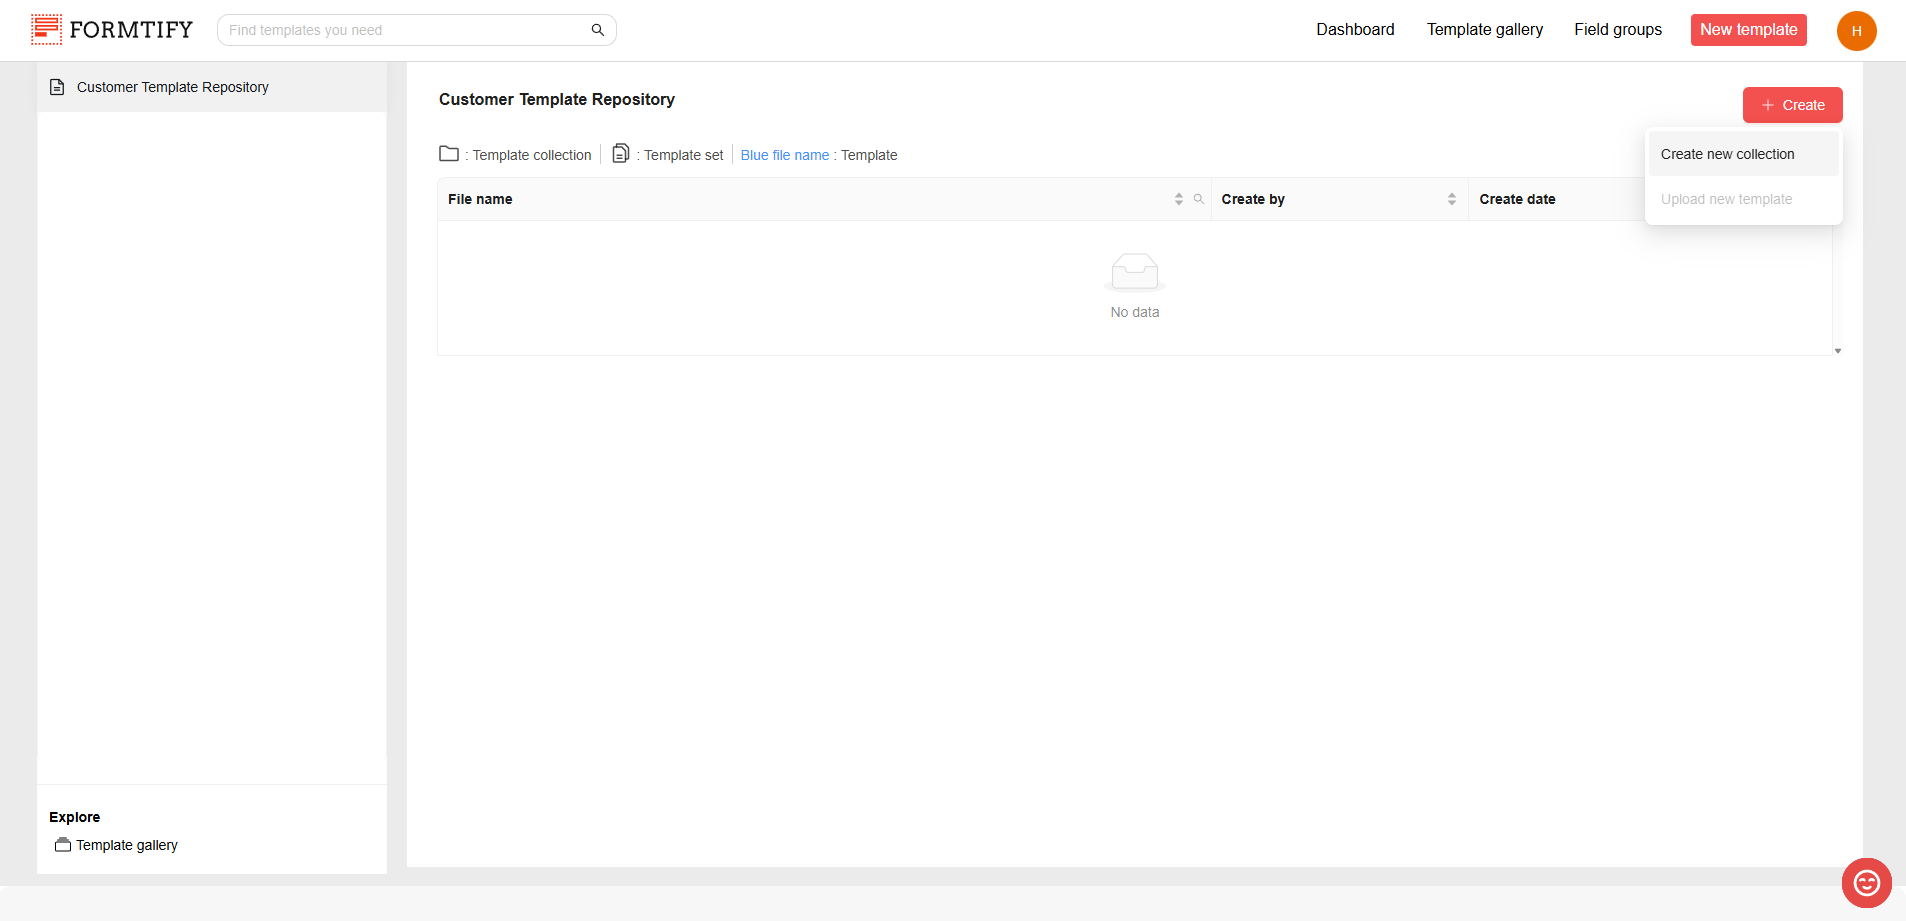
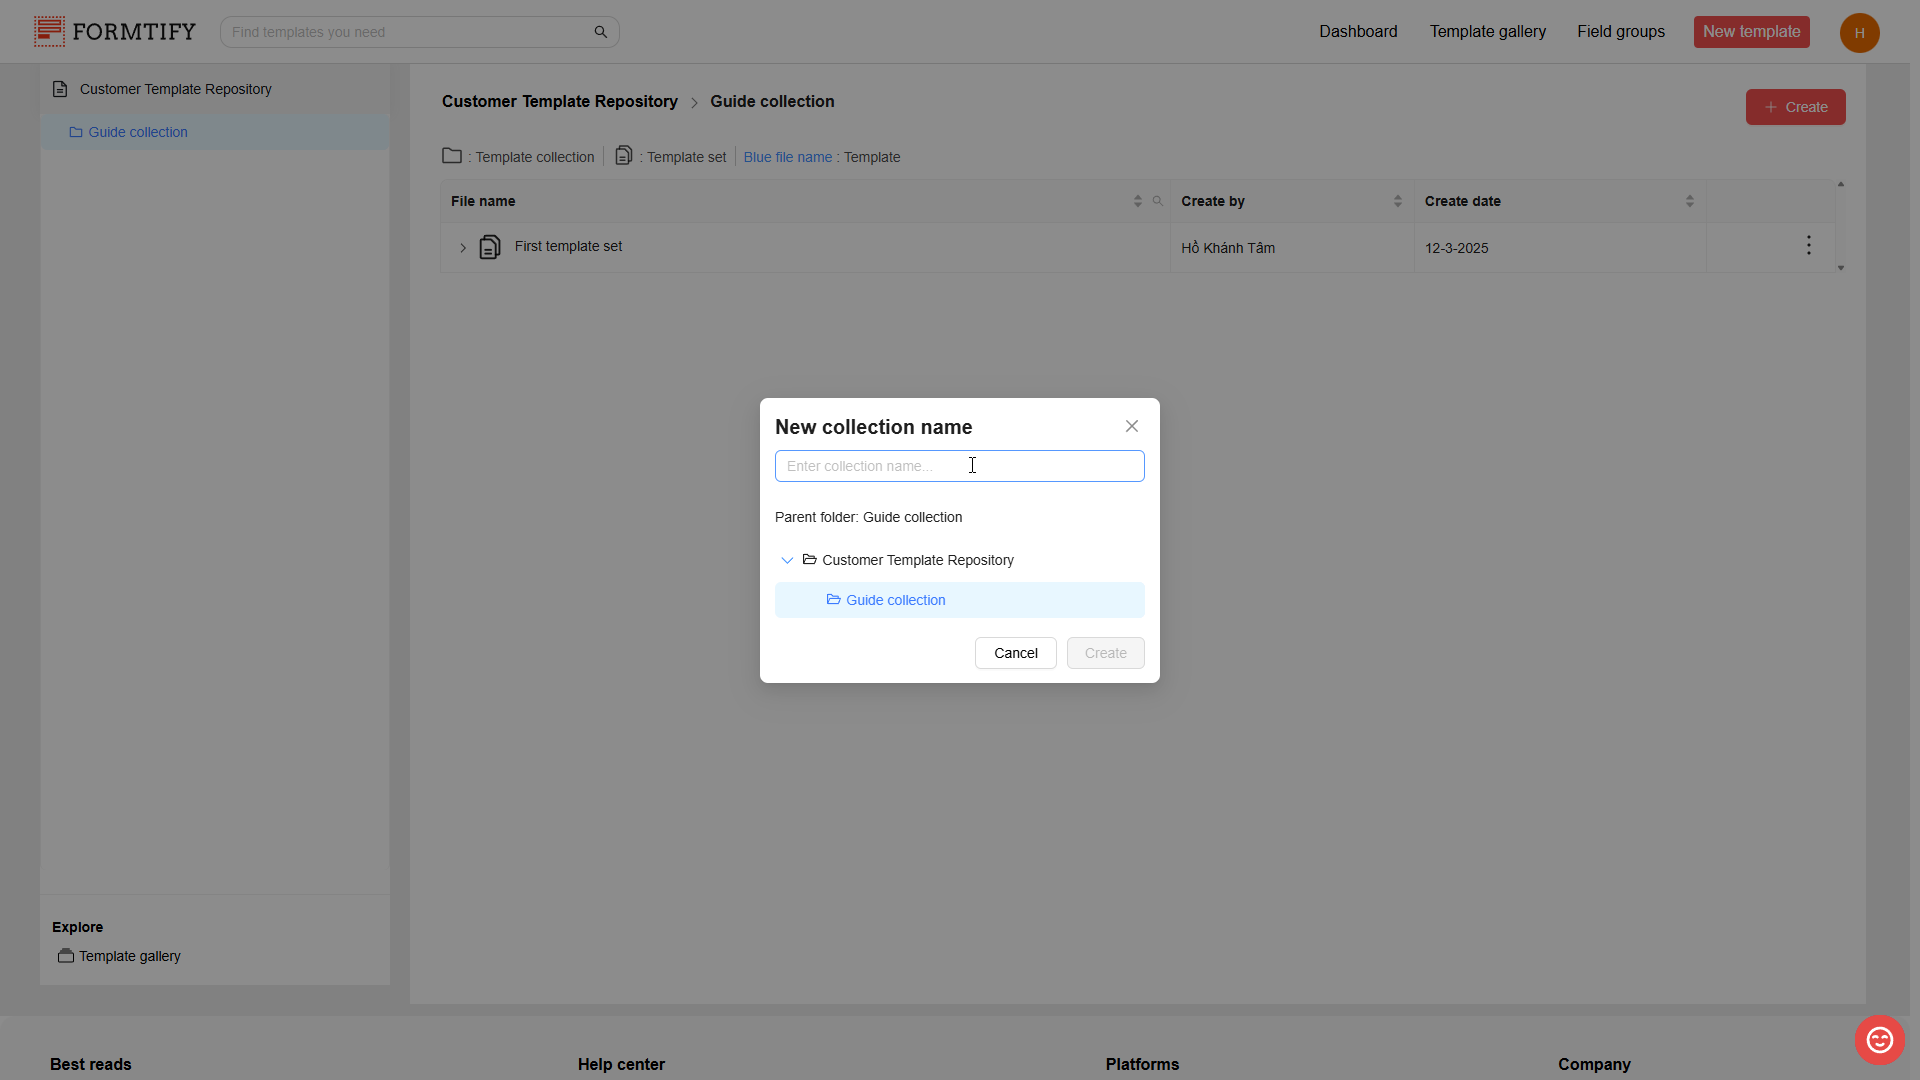
- Enter the Collection name.
- Select parent collection.
- Click Create to create a new collection.
2. Upload templates to collection.
- Click the collection where you want to store your templates to go to that collection.
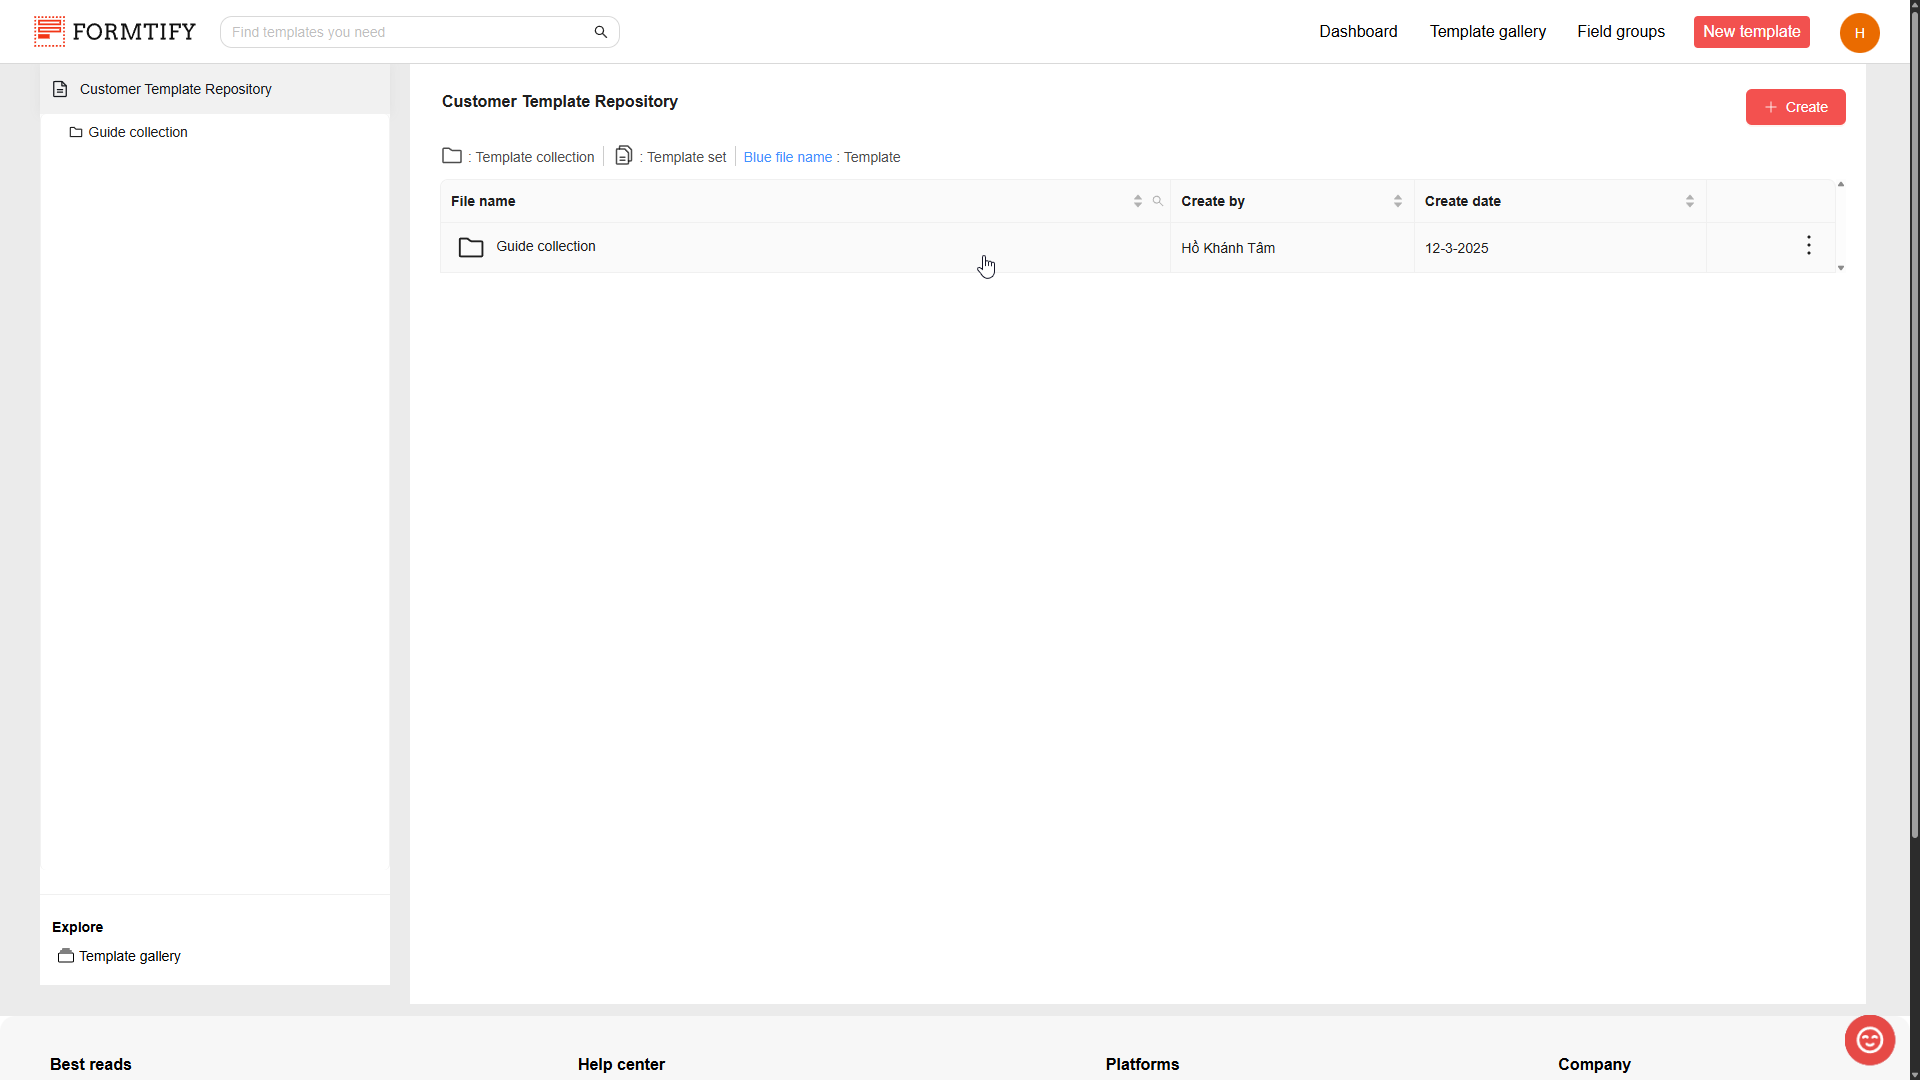
Warning: You must first be in a collection to start uploading templates!
- When you’re in the wanted collection, click Upload new template to open upload templates pop-up.
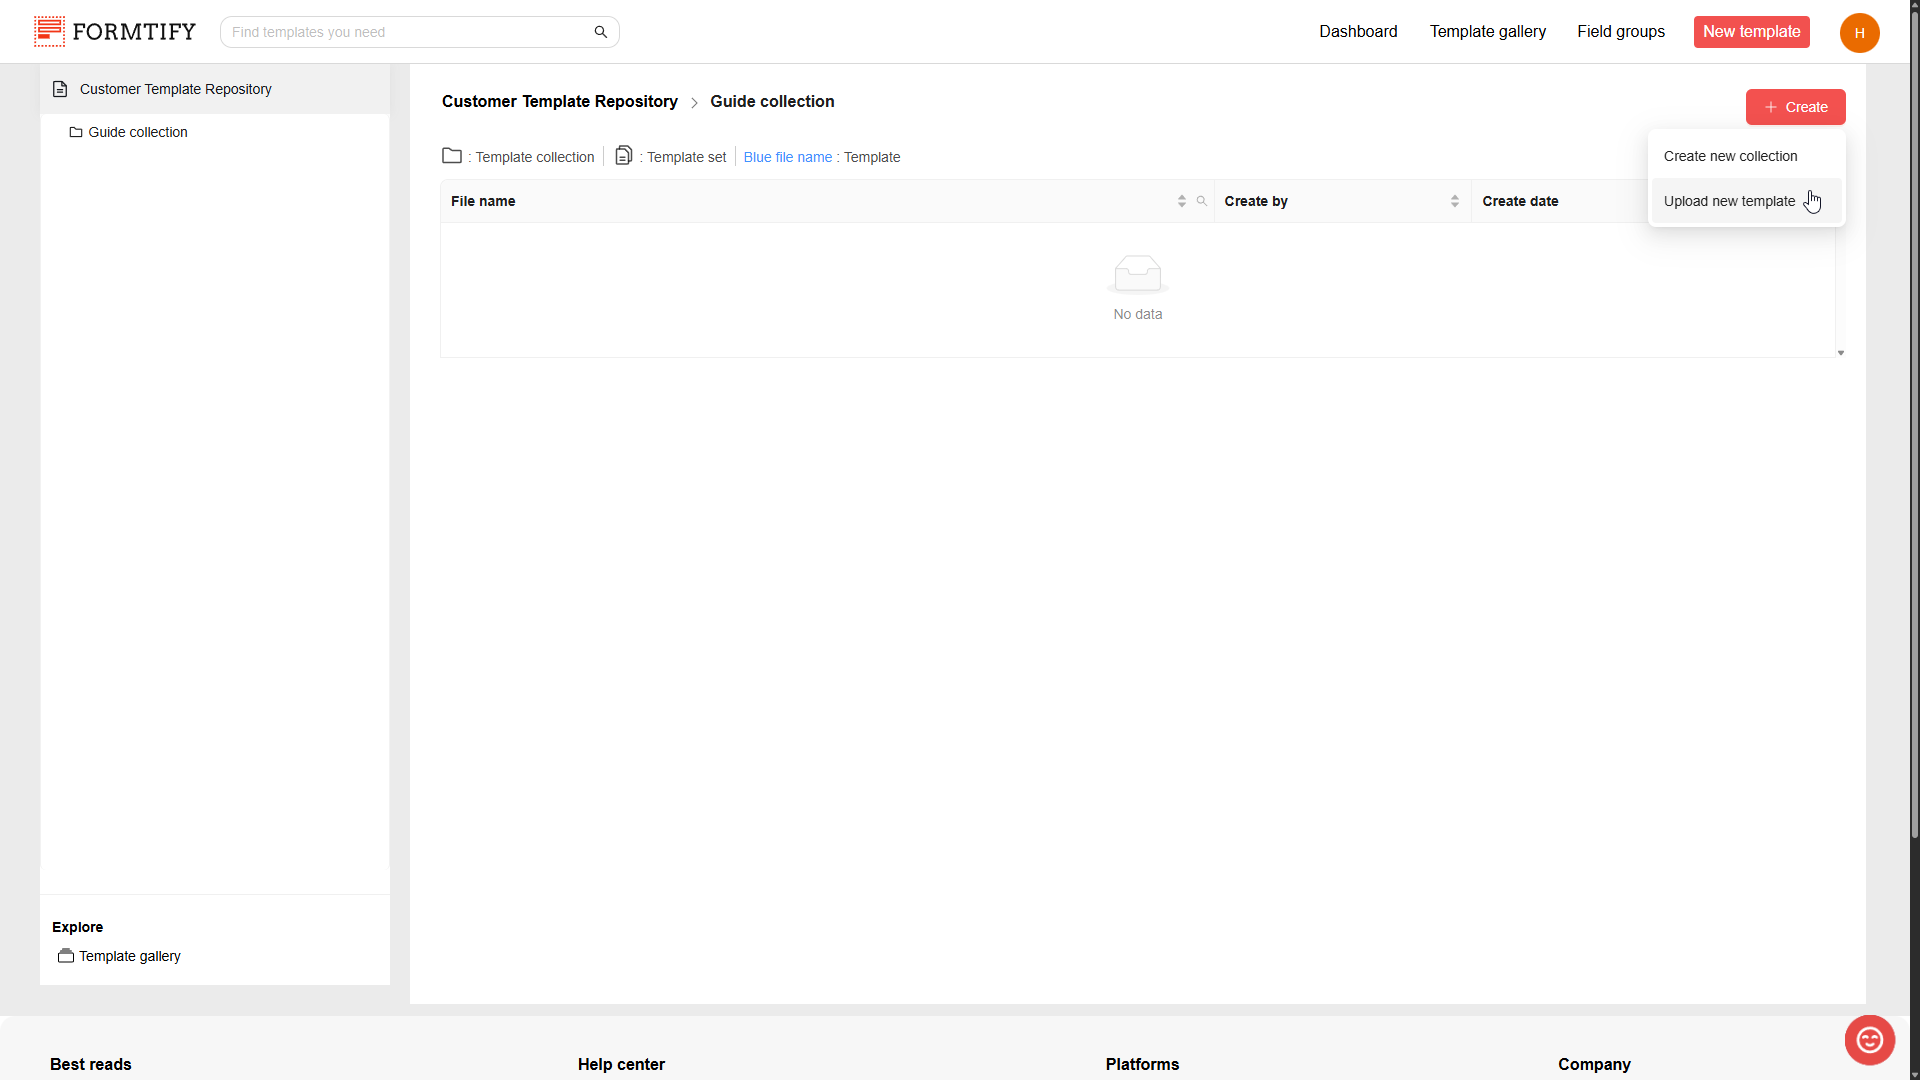
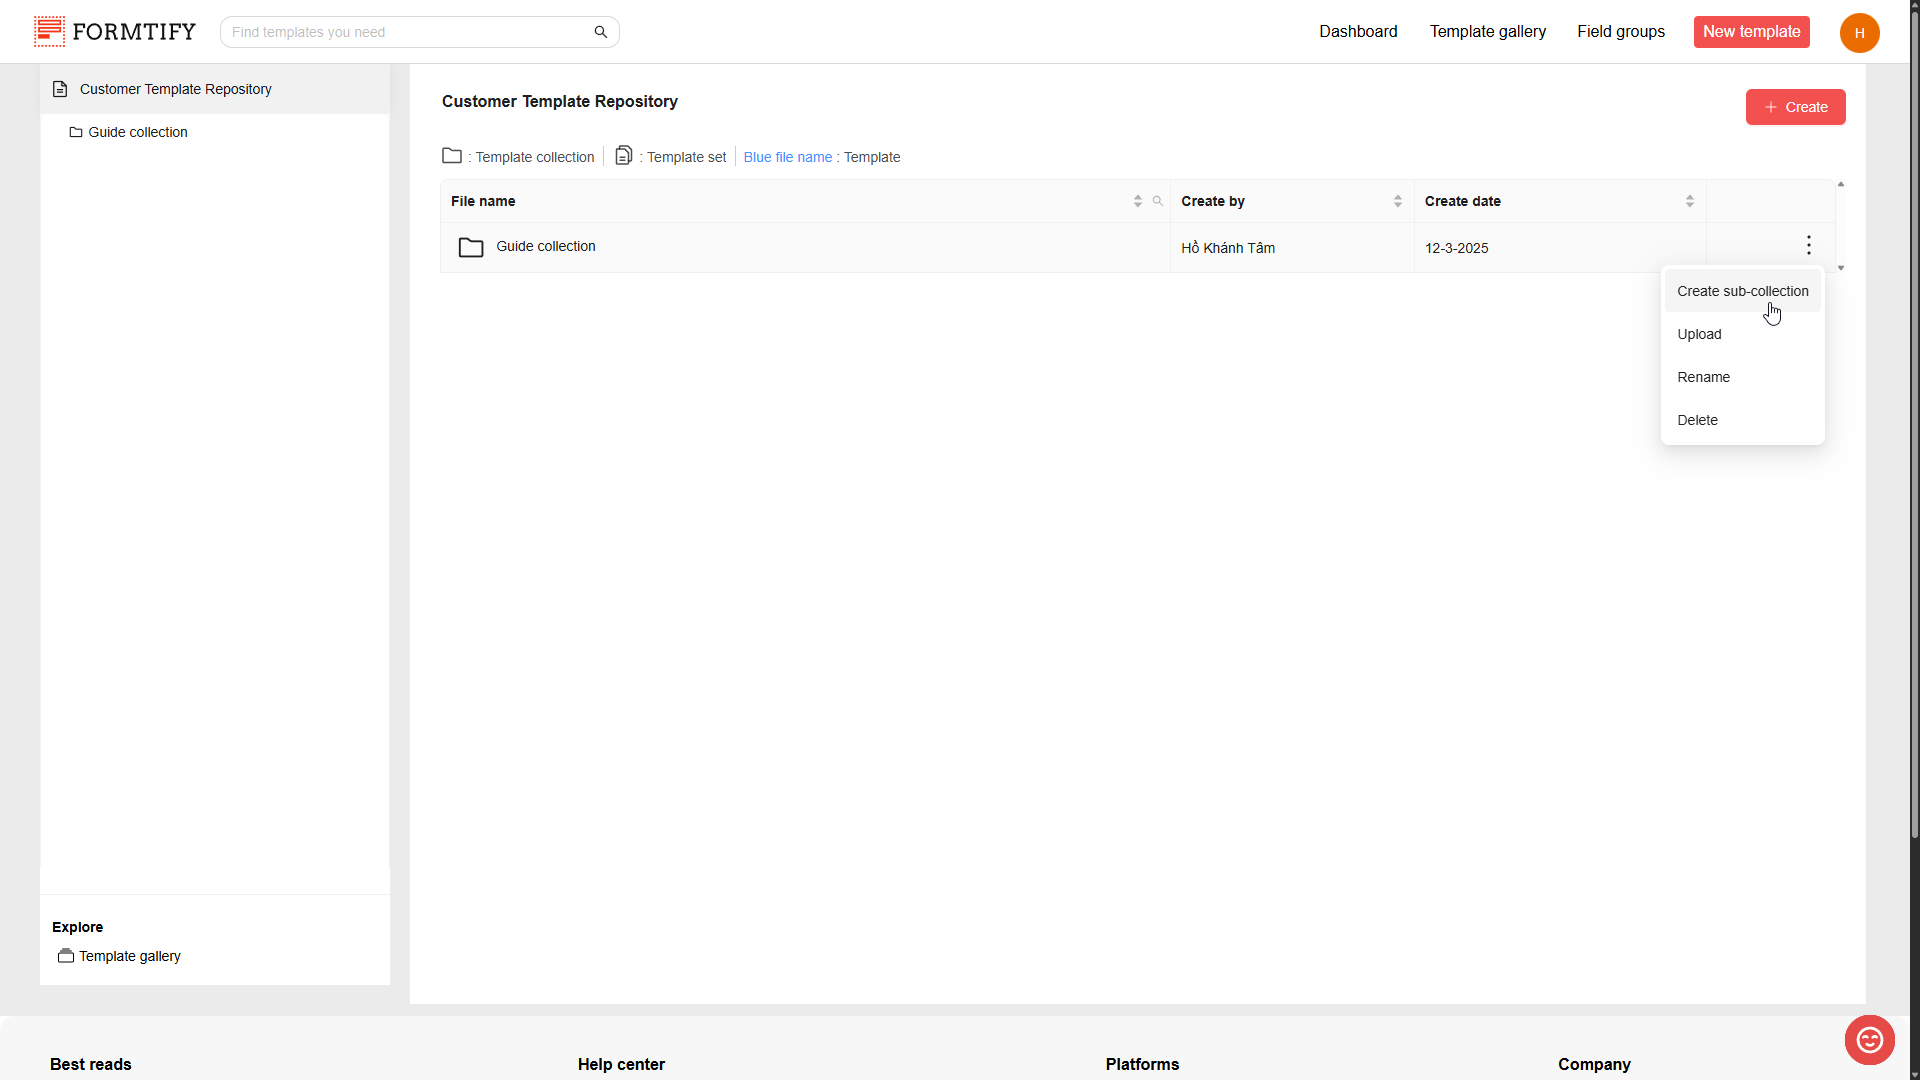
- You can also open the pop-up by clicking the three-dot menu (at the end of the collection name row) and select Upload.

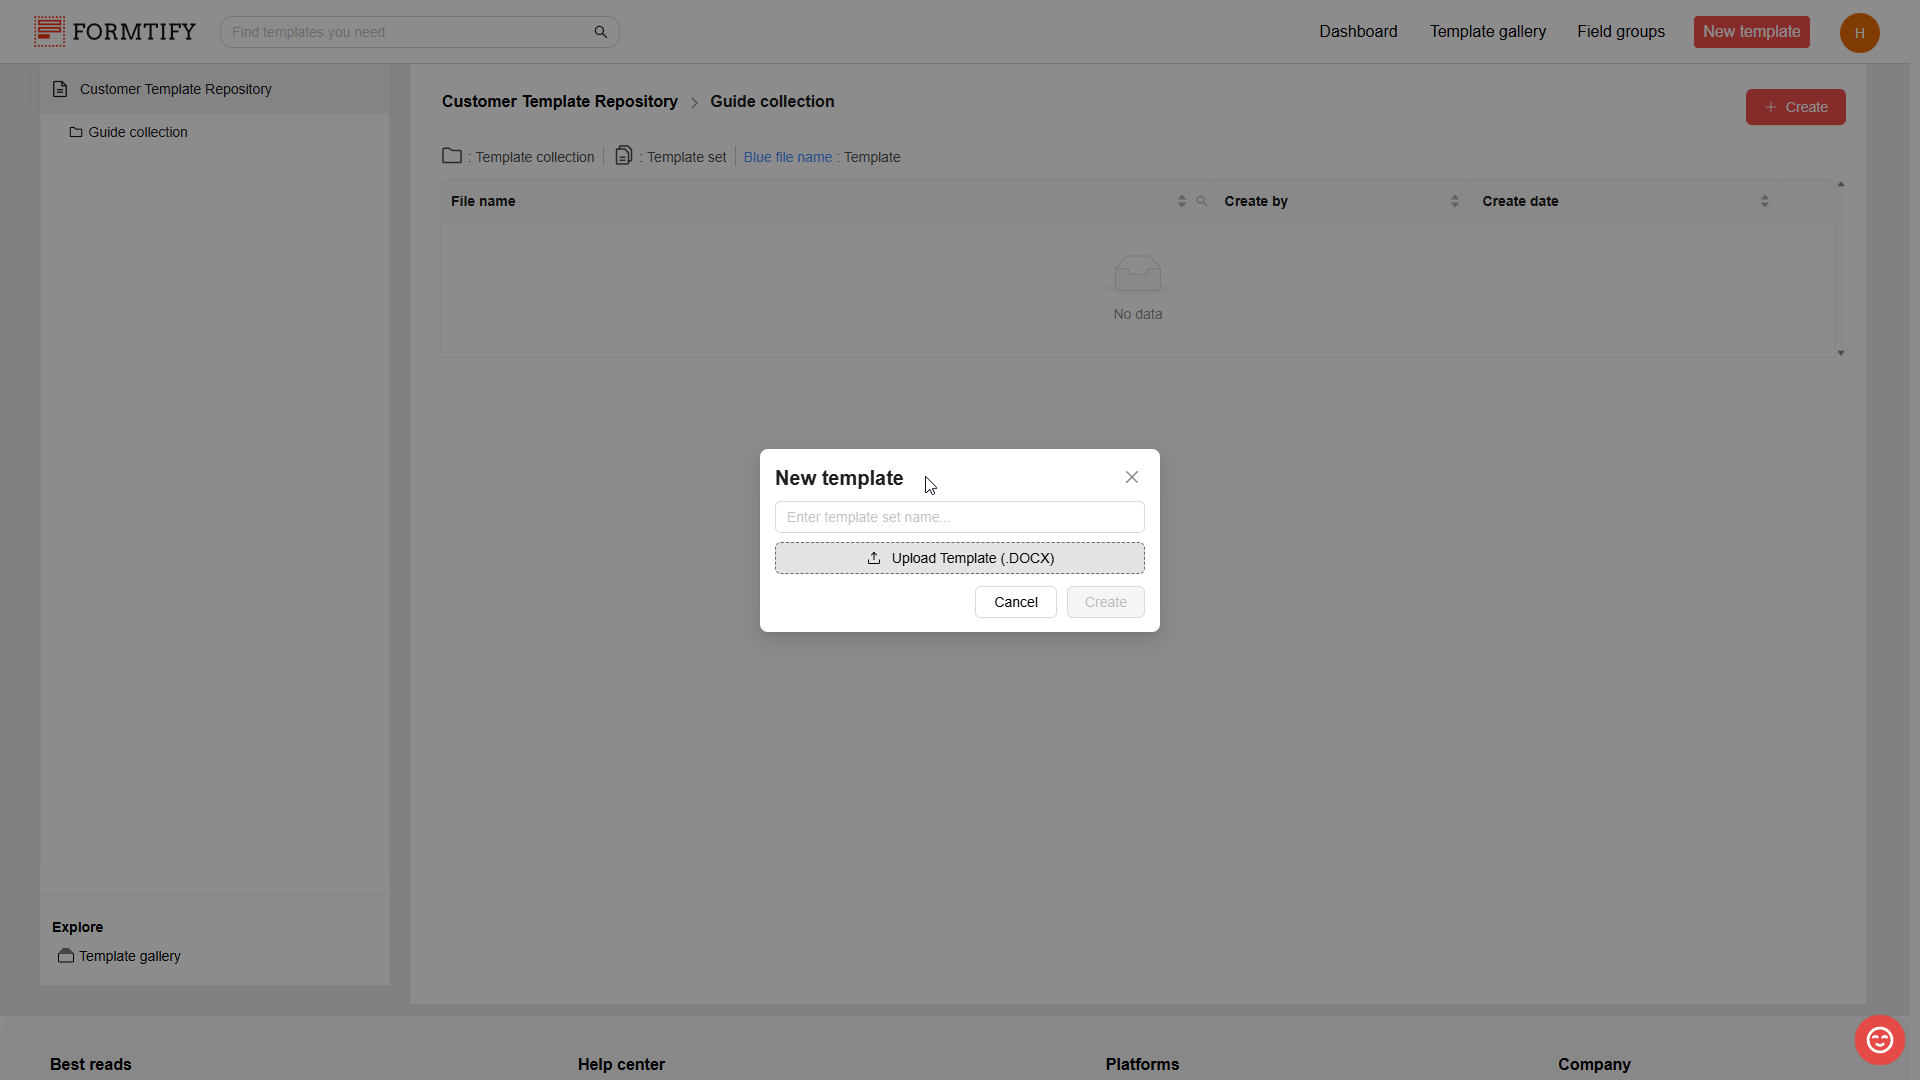
- When the pop-up is opened, enter the Template Set Name.
- Click Upload Template (.DOCX) to upload your Templates (you can upload multiple templates at the same time).
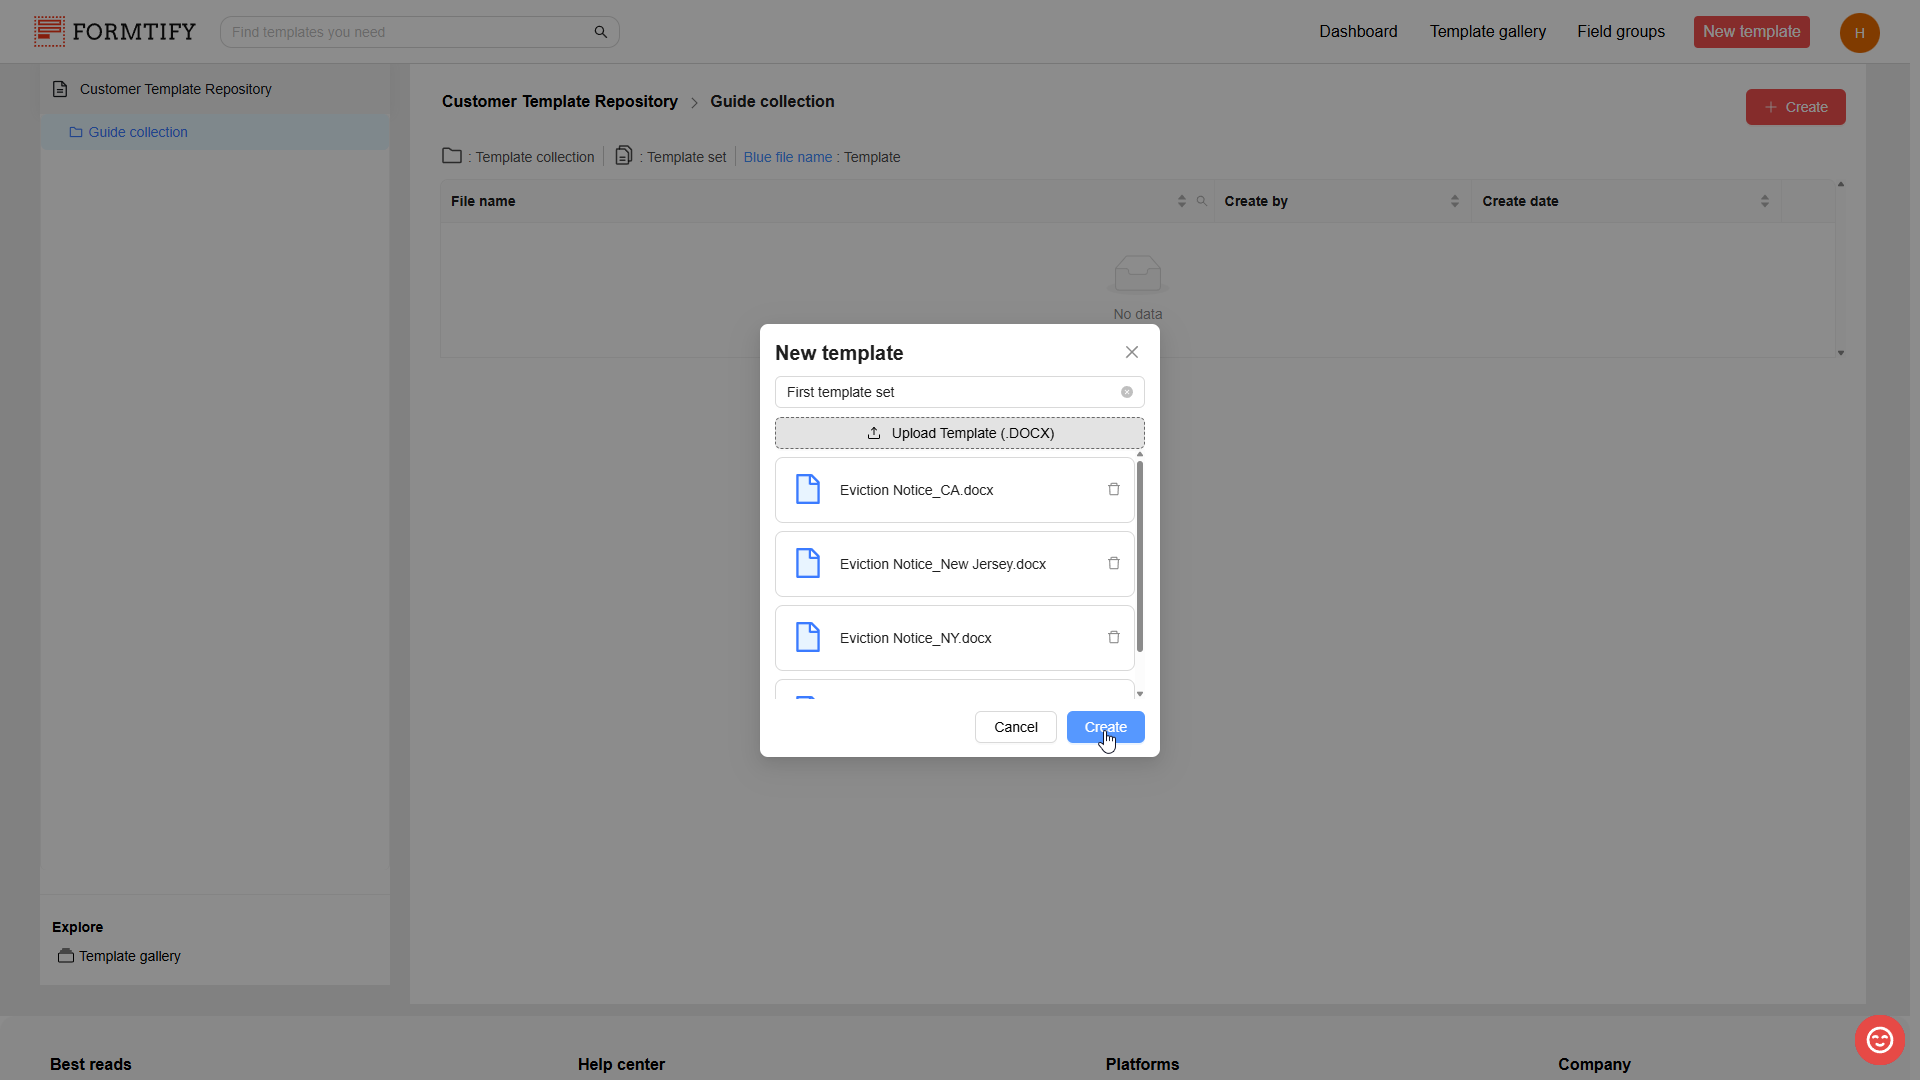
Templates that are uploaded at the same time will be automatically grouped together in a Template set.
- After finishing uploading templates, you will be directed to the Template configuration page.
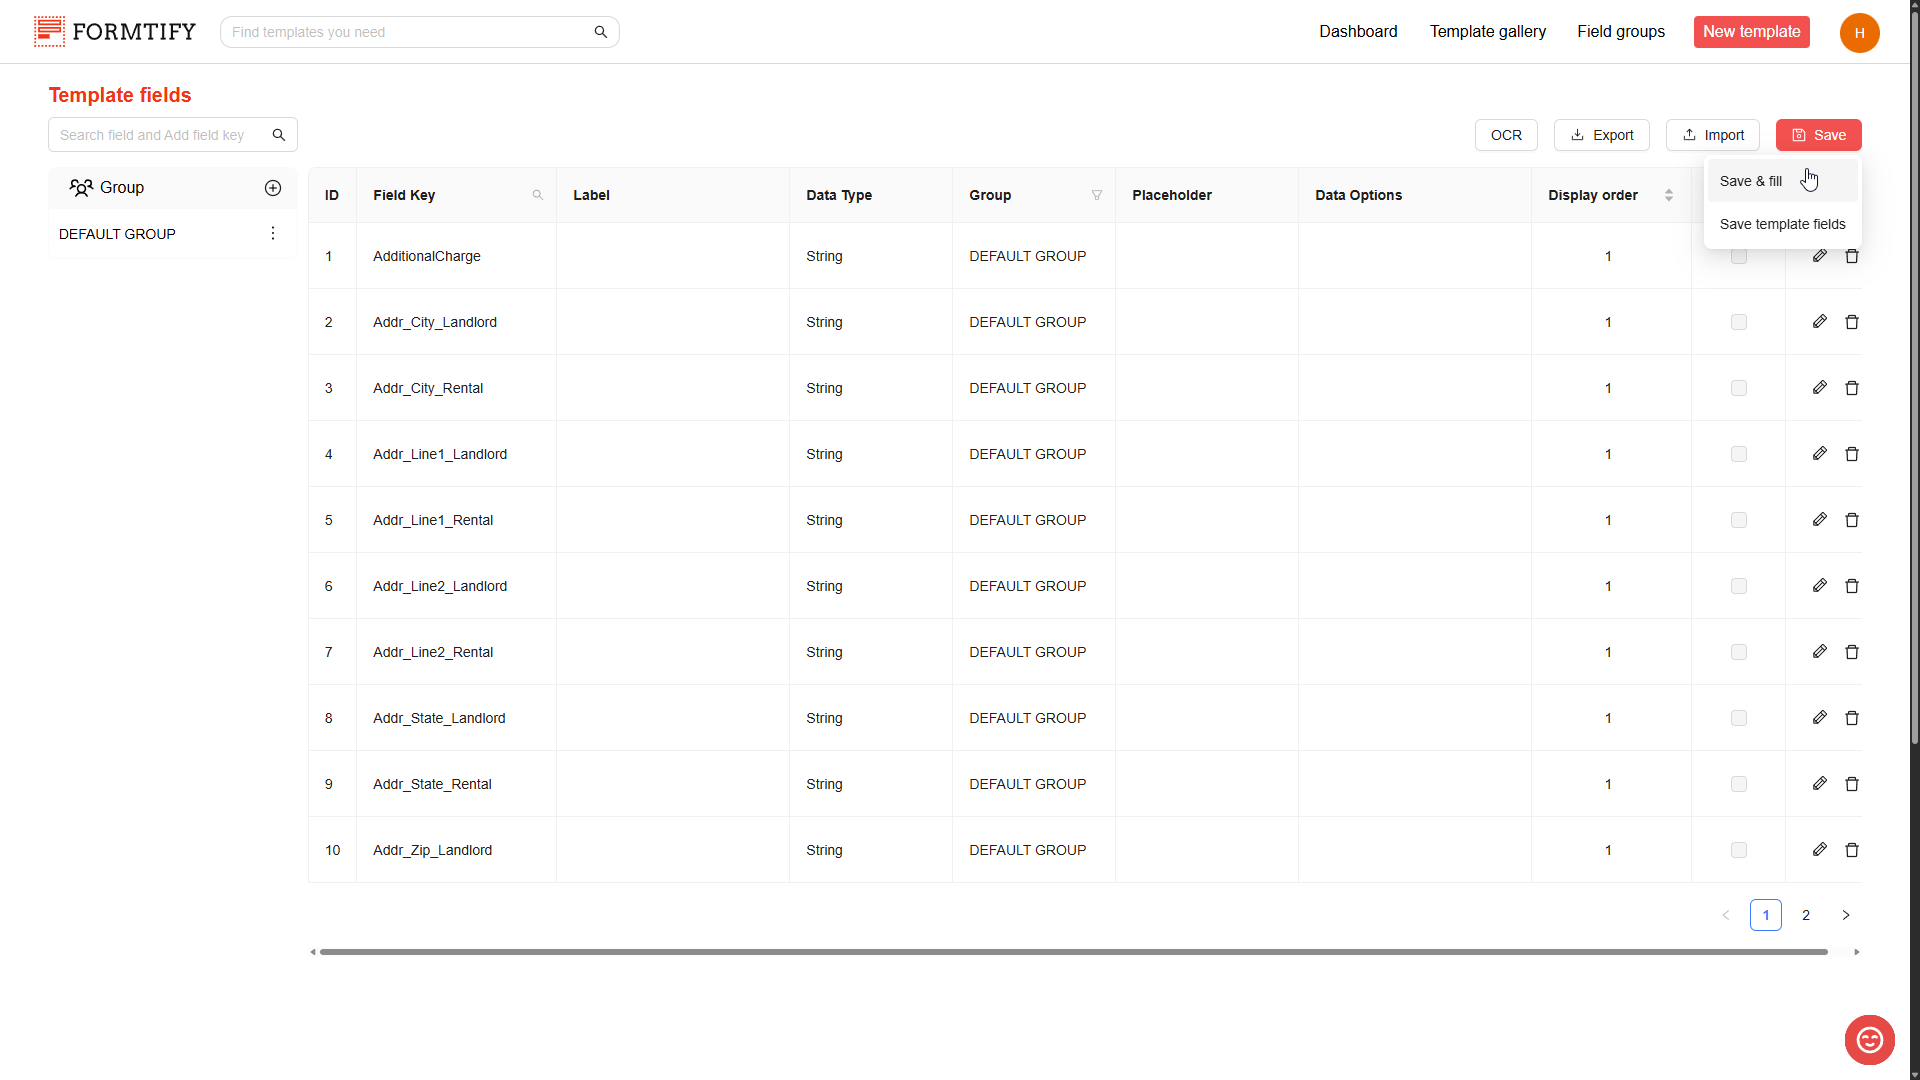
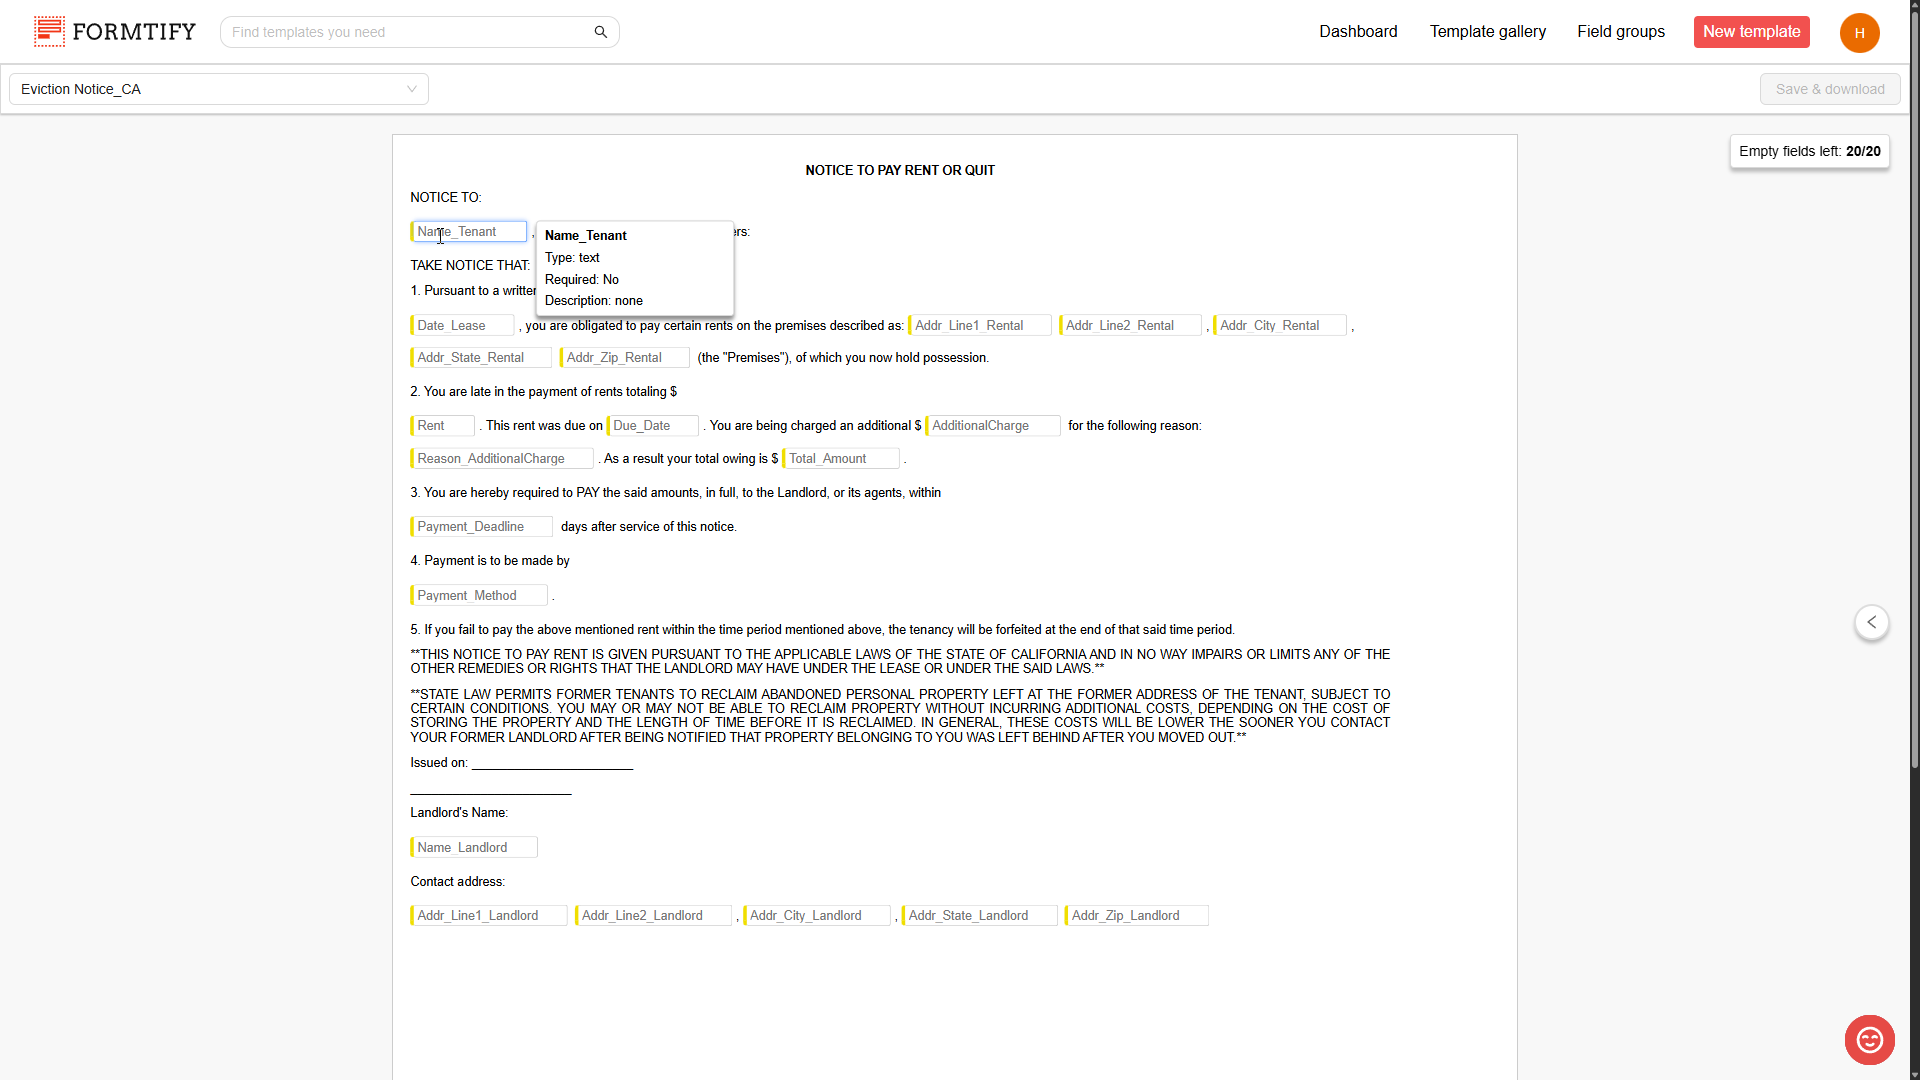
You can skip this part and start using your template set right away by clicking Save → Save & fill.
3. Create Sub-Collections for Better Organization.
- Click the collection where you want to create a sub-collection for it.

- When you’re in the wanted collection, click the + Create button, then select Create new collection to open New collection name pop-up.

- Alternatively, you can open the pop-up by clicking the three-dot menu (at the end of collection name row) and select Create sub-collection.
- Follow the same steps as creating a primary collection.
4. Rename/delete Collections.
- You can rename/delete collections based on your needs by clicking the three-dot menu at the end of the wanted template collection row and clicking Rename/Delete.

5. Rename/Delete Template Sets.
- Open the collection that contains the wanted template set.
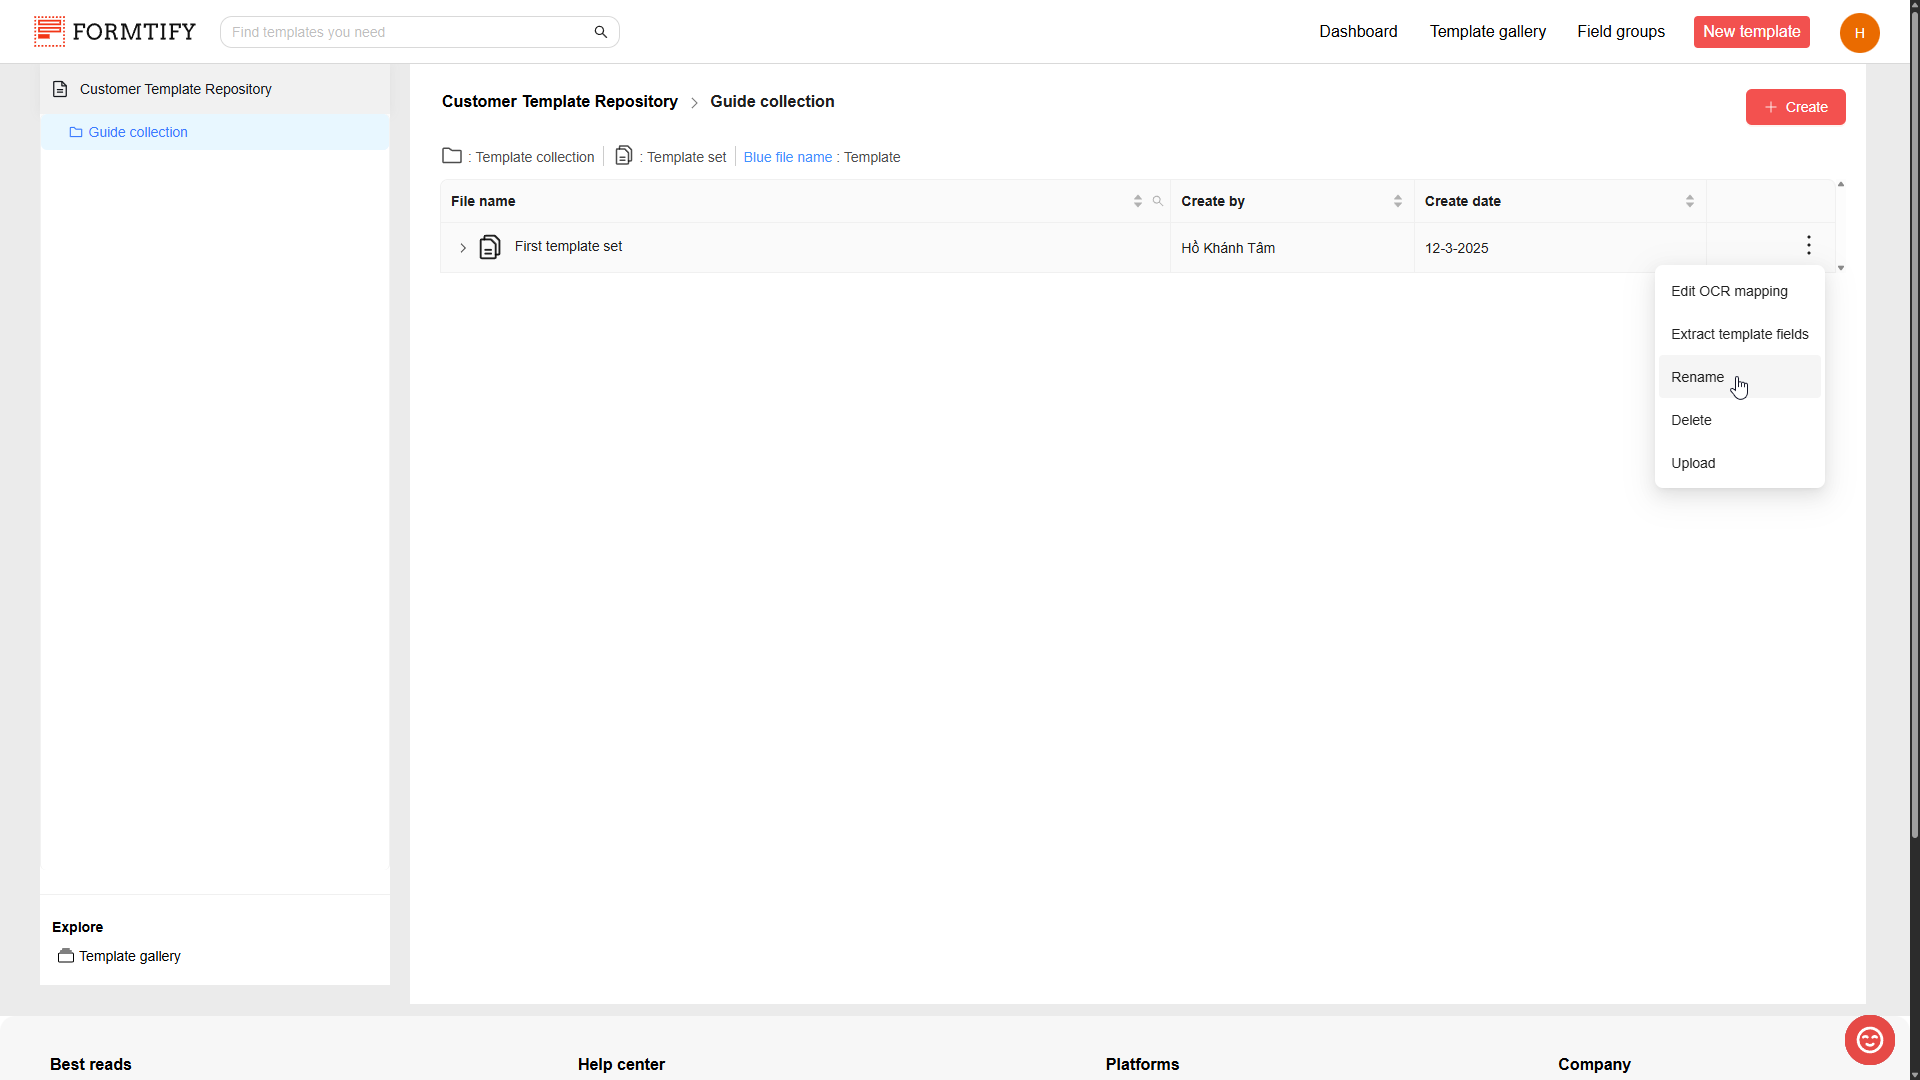
- Click the three-dot menu at the end of the template set name row.
- Choose Rename/Delete.
6. Upload Templates to the existing Template set.
- Open the collection that contains the wanted template set.
- Click the three-dot menu at the end of the template set name row.
- Click Upload to open the Upload file pop-up.

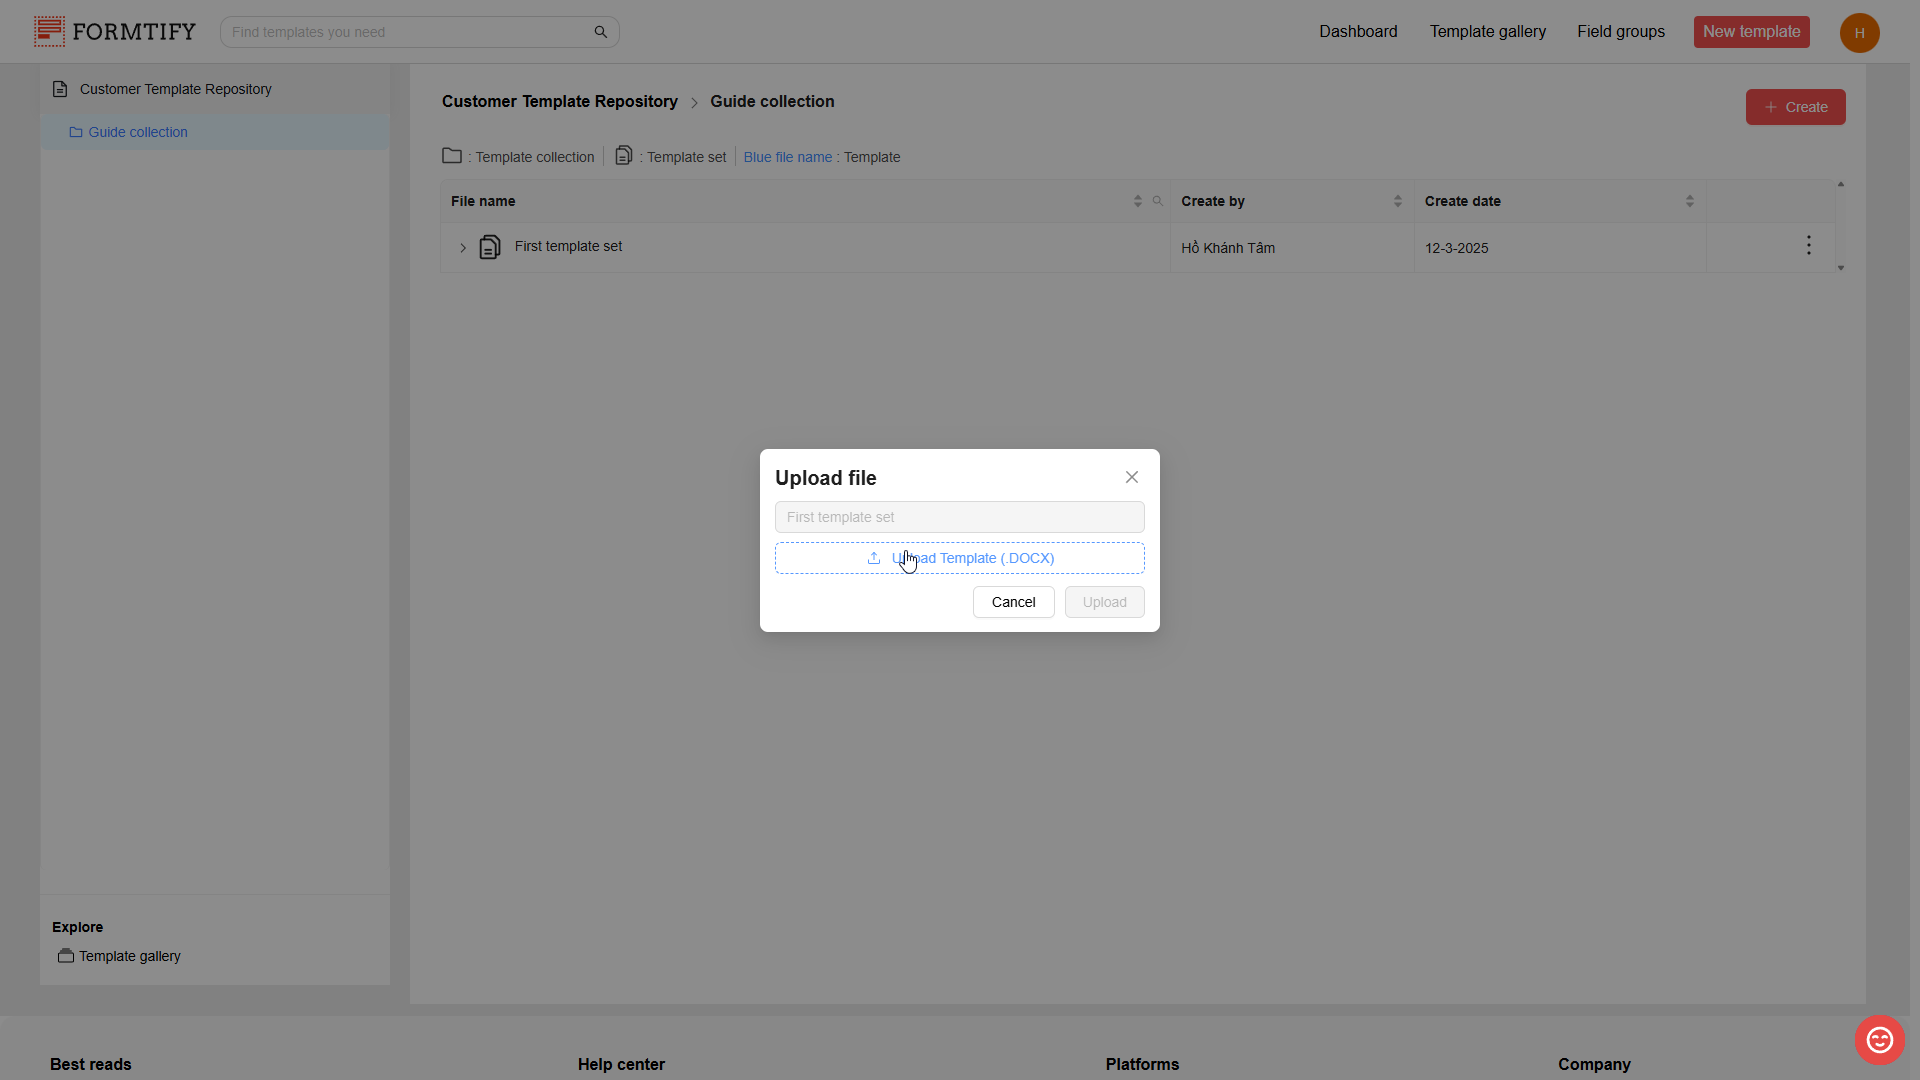
- Click Upload Templates (DOCX) and select your templates to upload.
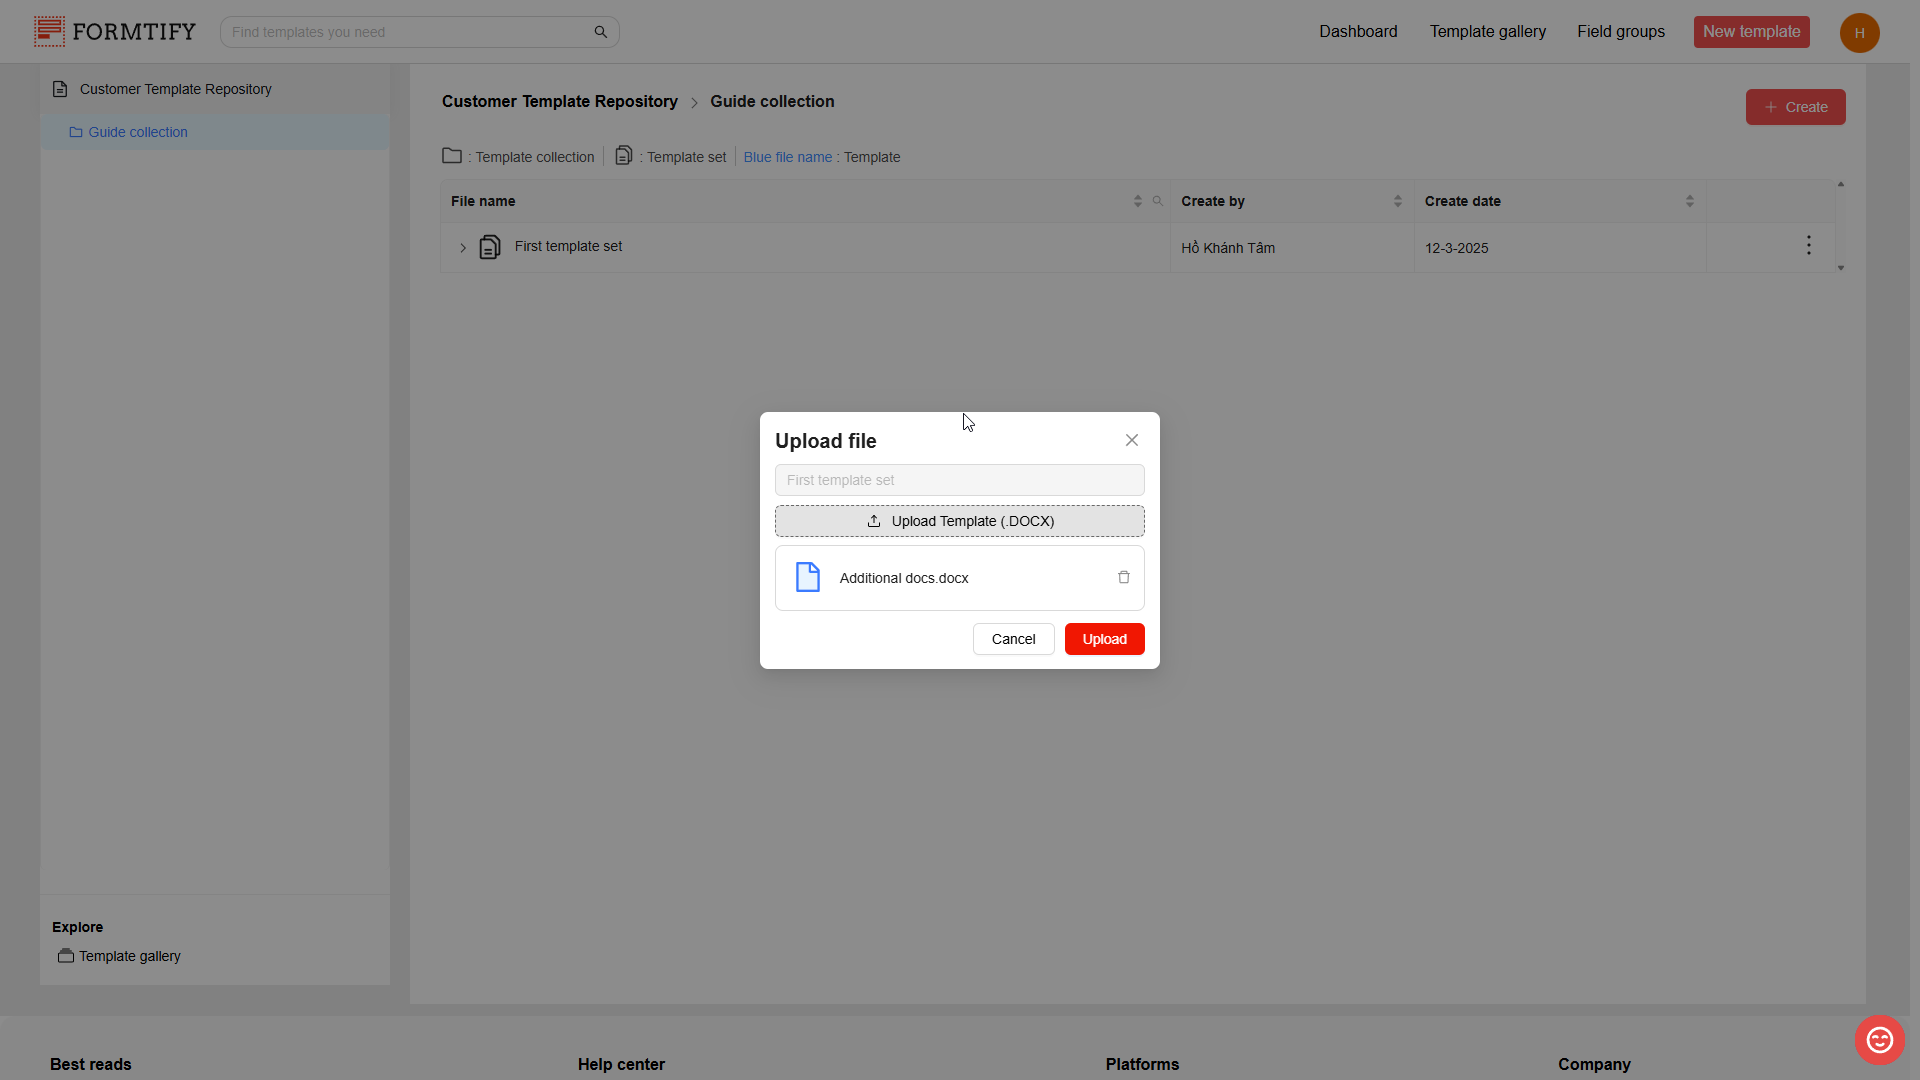
- Click Upload to finish uploading the template to the selected template set.
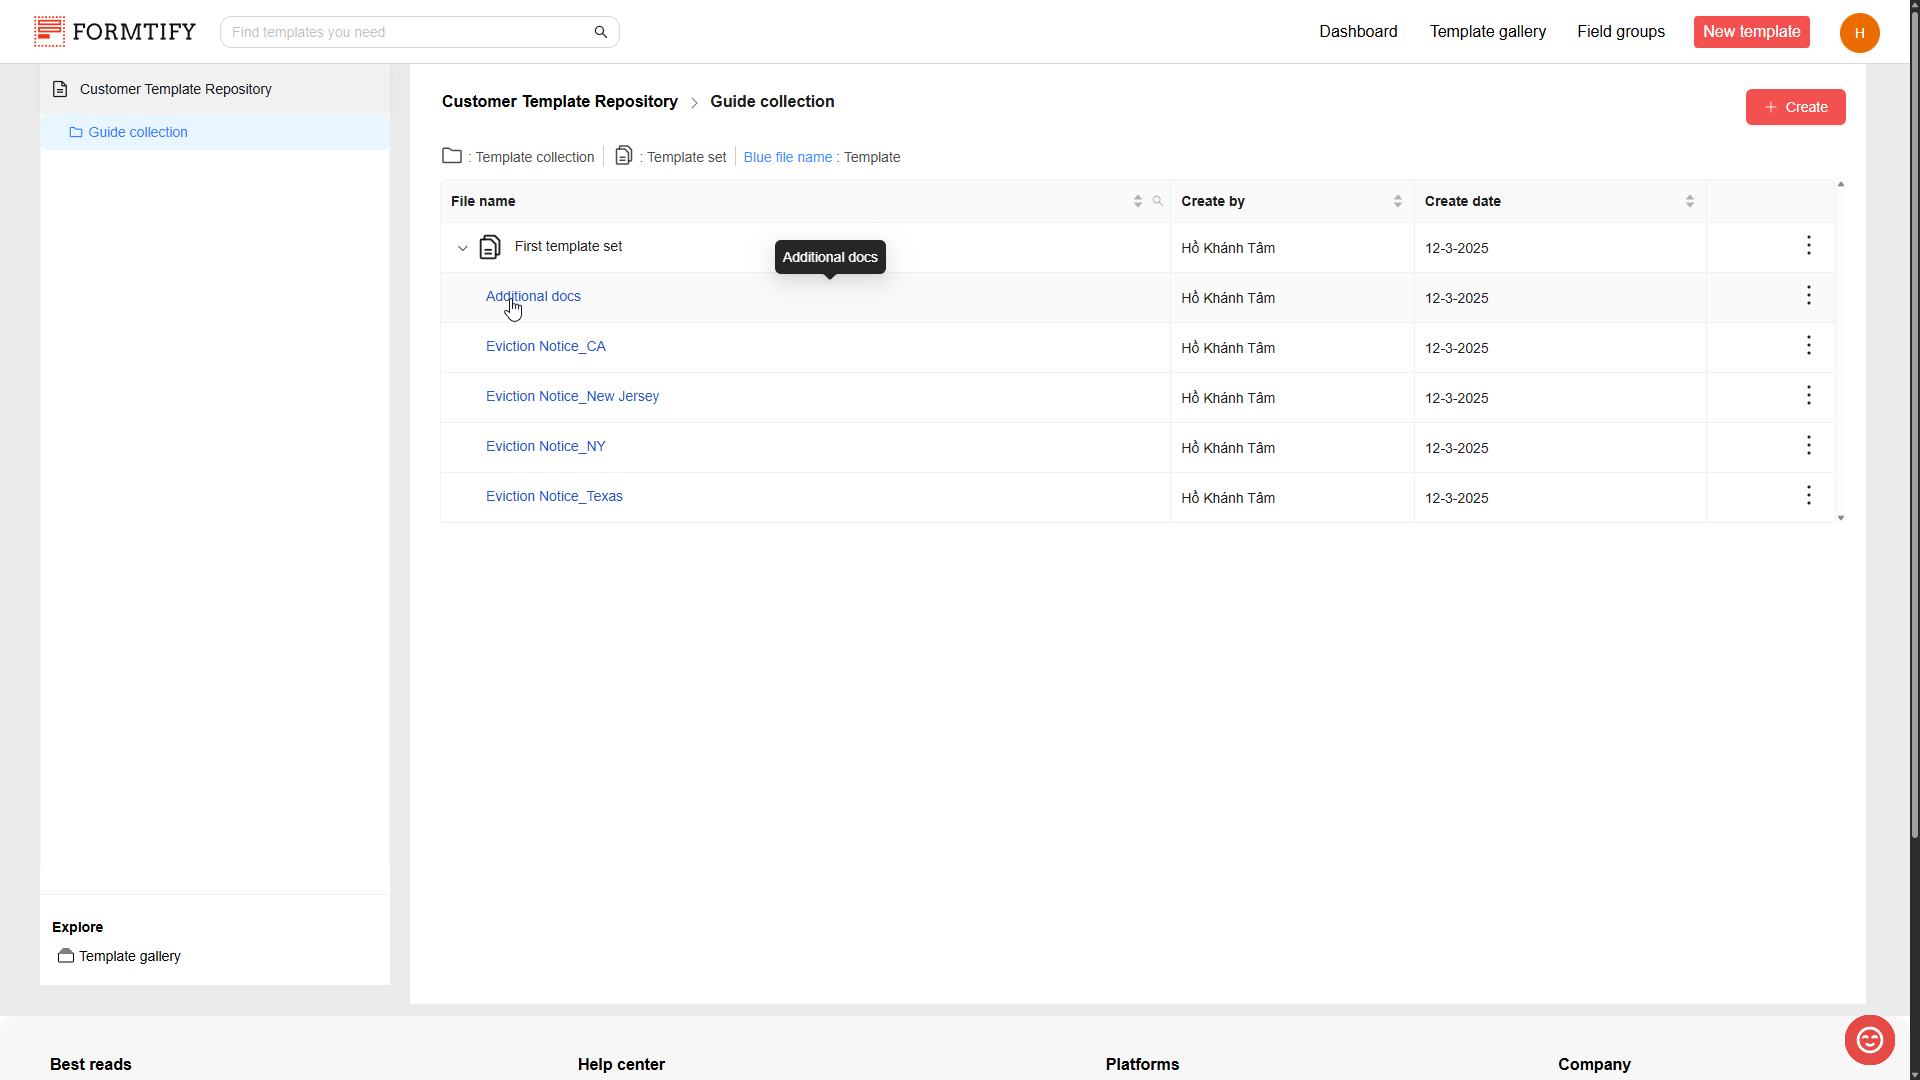
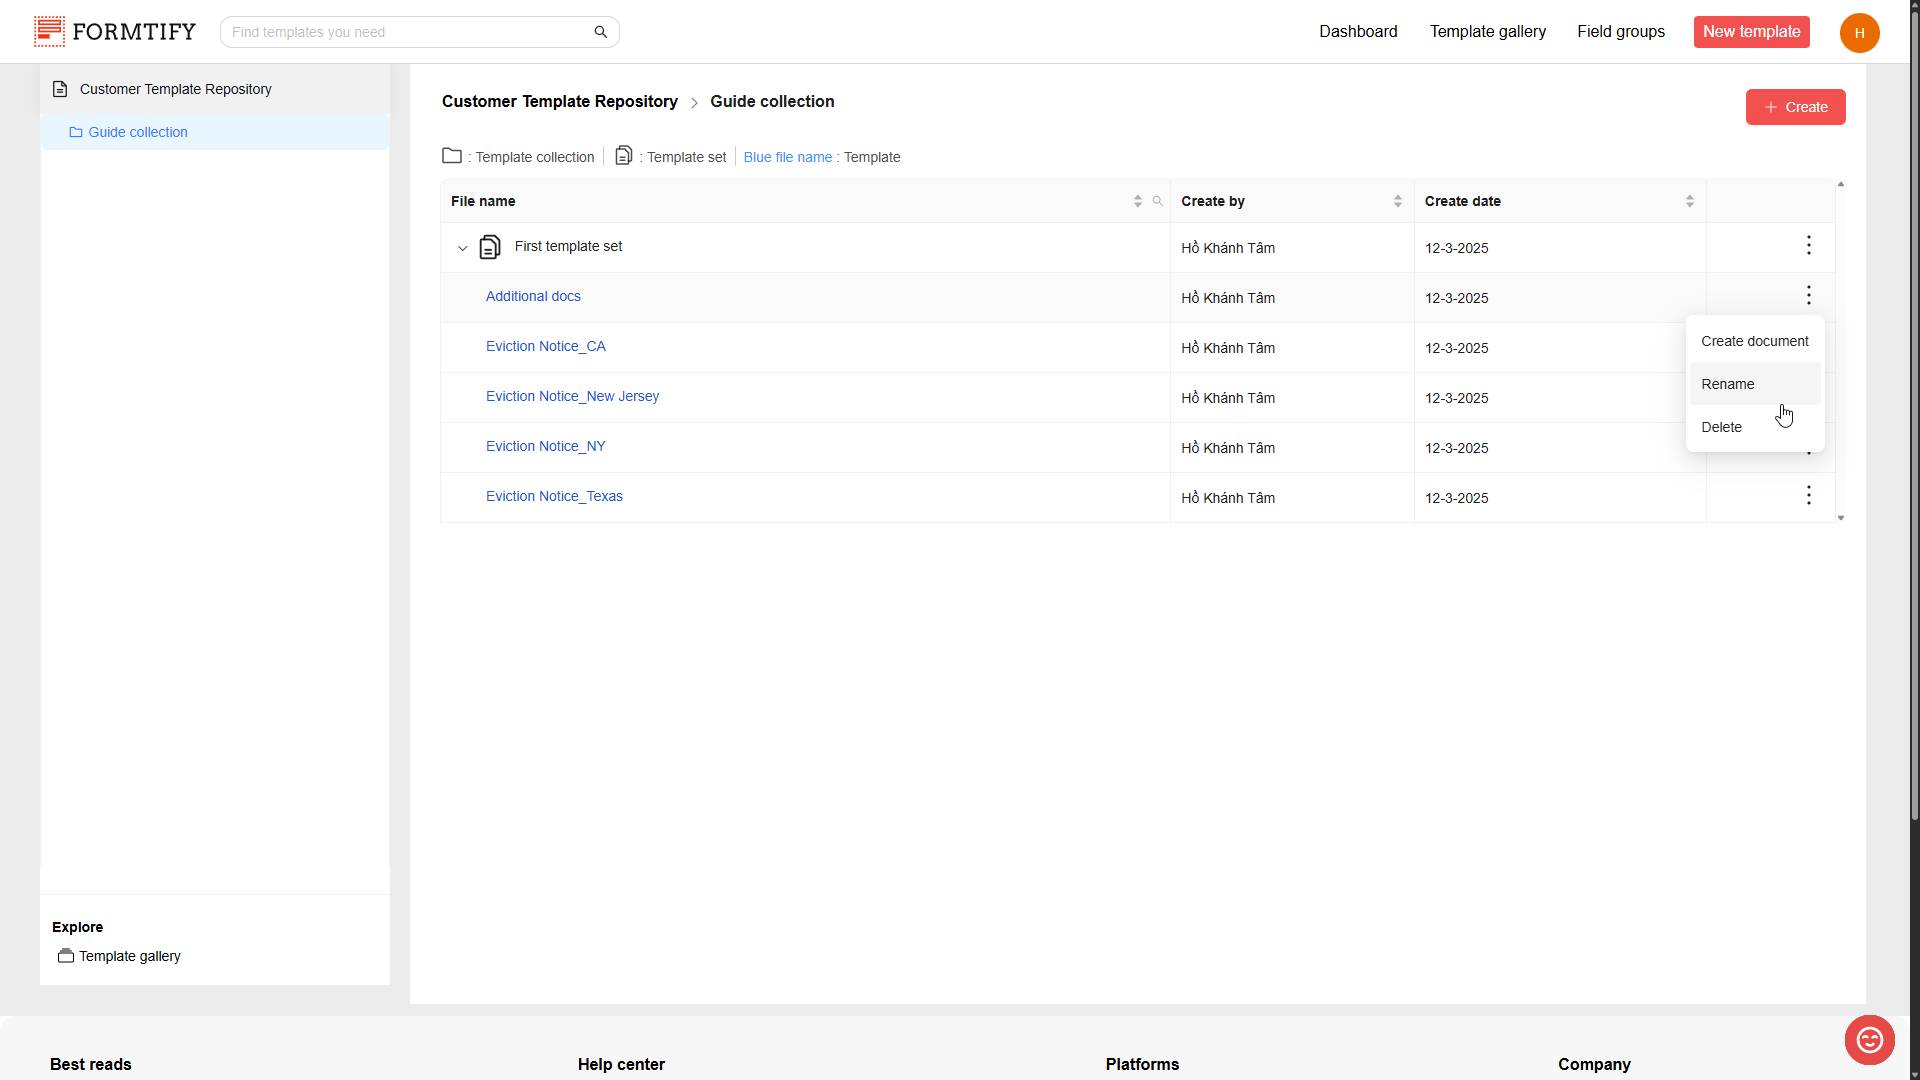
7. Rename/Delete Template.
- Open the template set that contains the wanted template.

- Click the three-dot menu at the end of template name row.
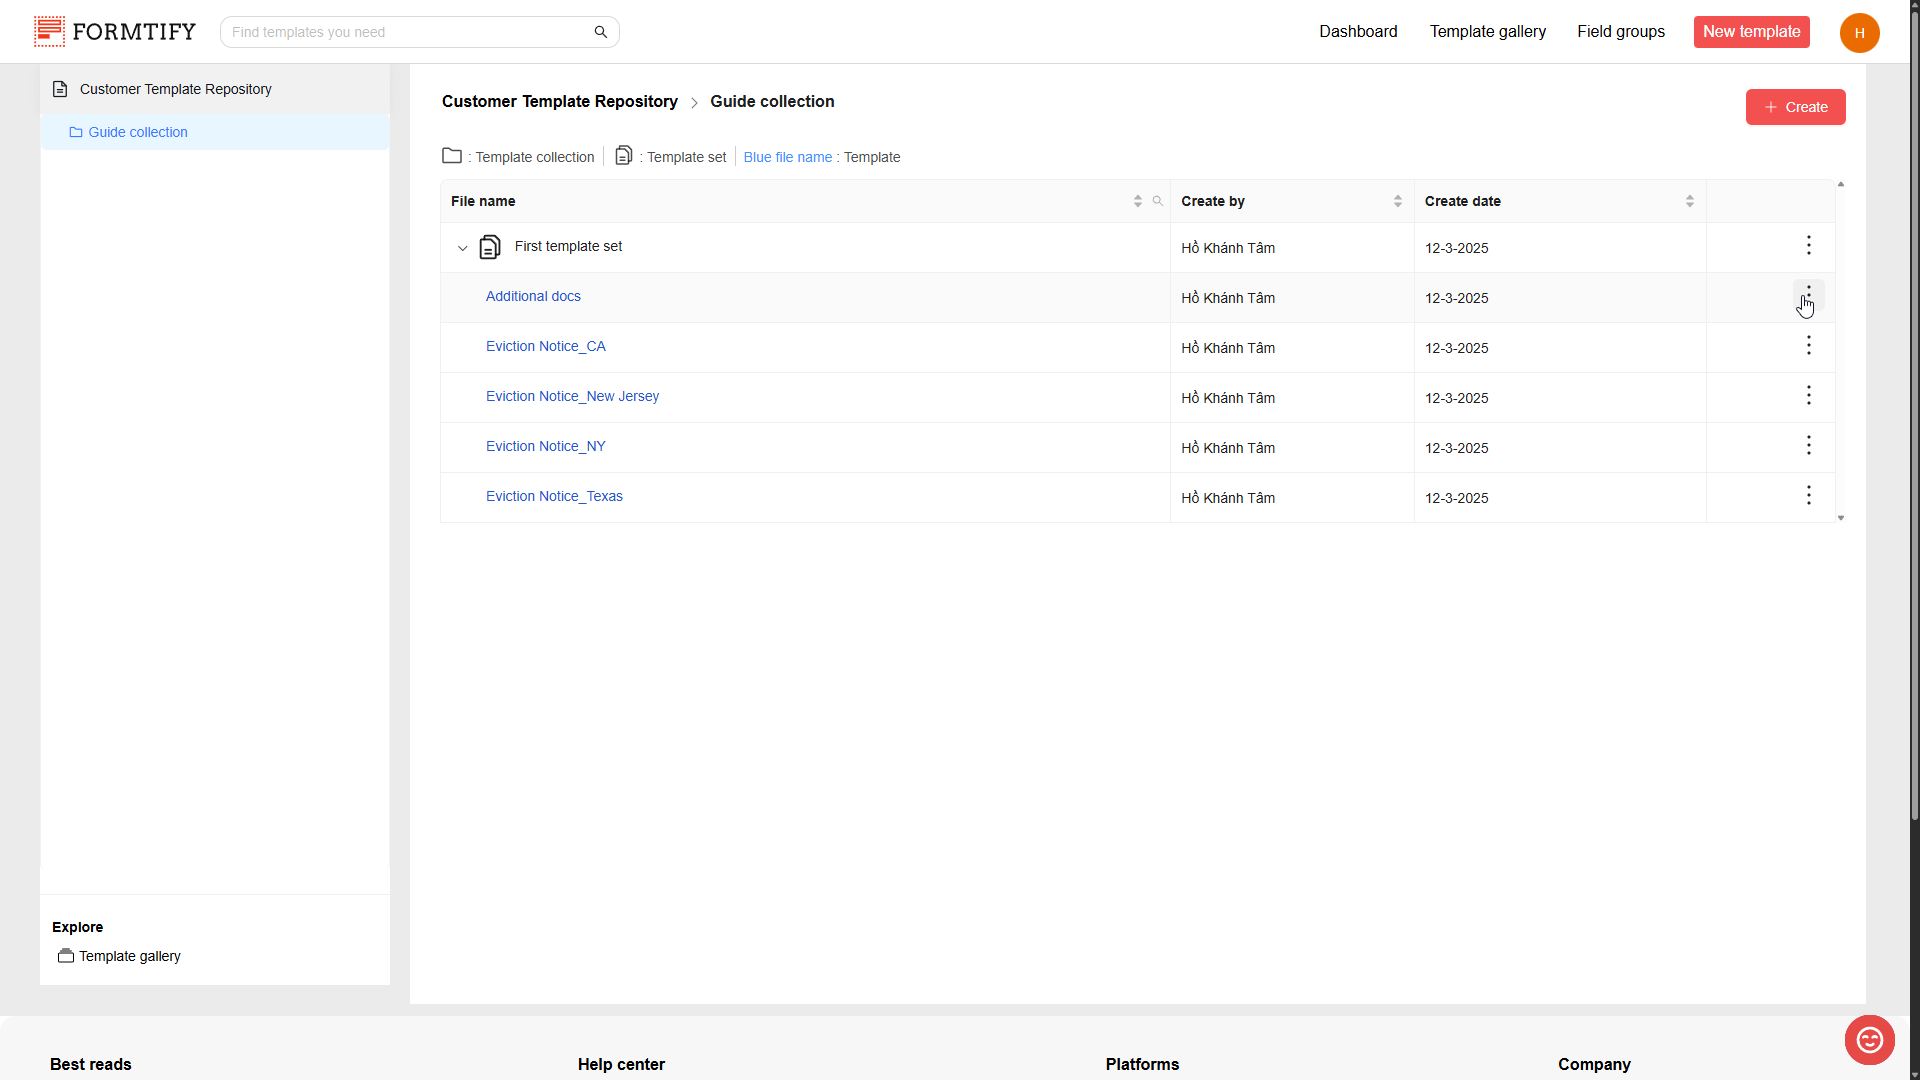
- Choose Rename/Delete.